
01
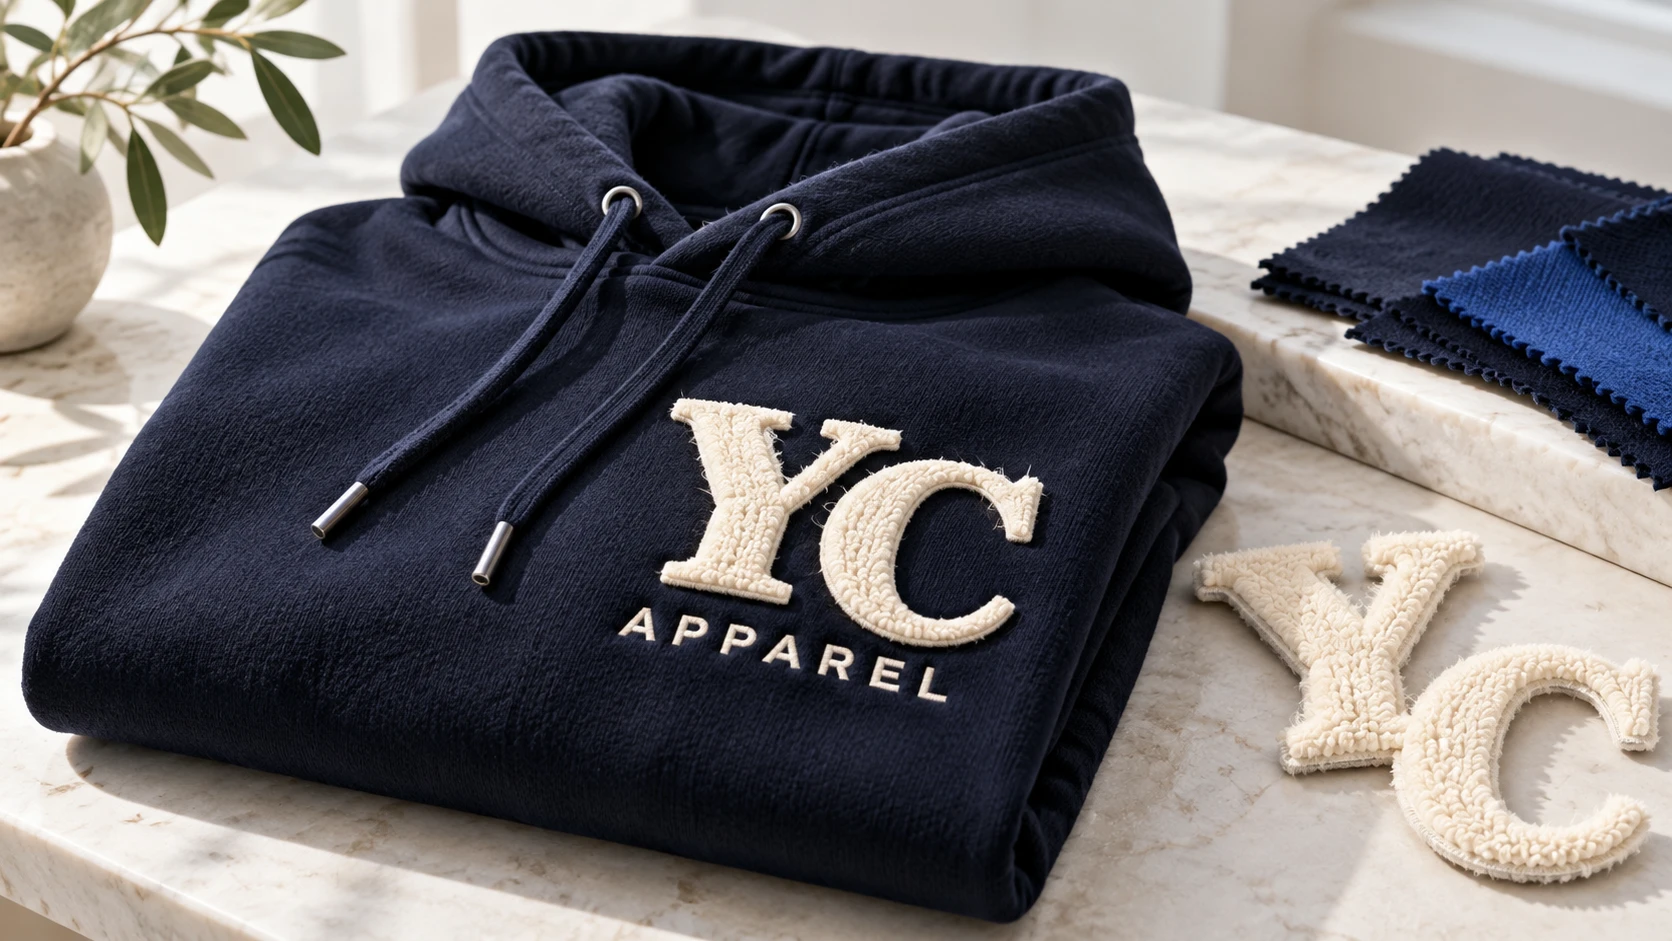
Name the texture you want, not just “towel embroidery”
Tajima describes loop and chain stitching in its chenille equipment documentation.[1] This supports the construction terminology, not a claim that every supplier uses the same equipment or produces the same effect.
Send a reference that shows the raised surface and the outline clearly. Identify which part matters: a dense plush face, a flatter border, a particular height relationship or a vintage varsity appearance. A photograph can guide the direction, but physical approval is needed for handle and relief.
Keep chenille yarn texture separate from the garment base. A fleece sweatshirt with ordinary embroidery is not automatically a chenille decoration. Likewise, a chenille patch can include other embroidery or appliqué components; list the visible layers rather than using one name for everything.
02
Check small details before paying for repeated samples
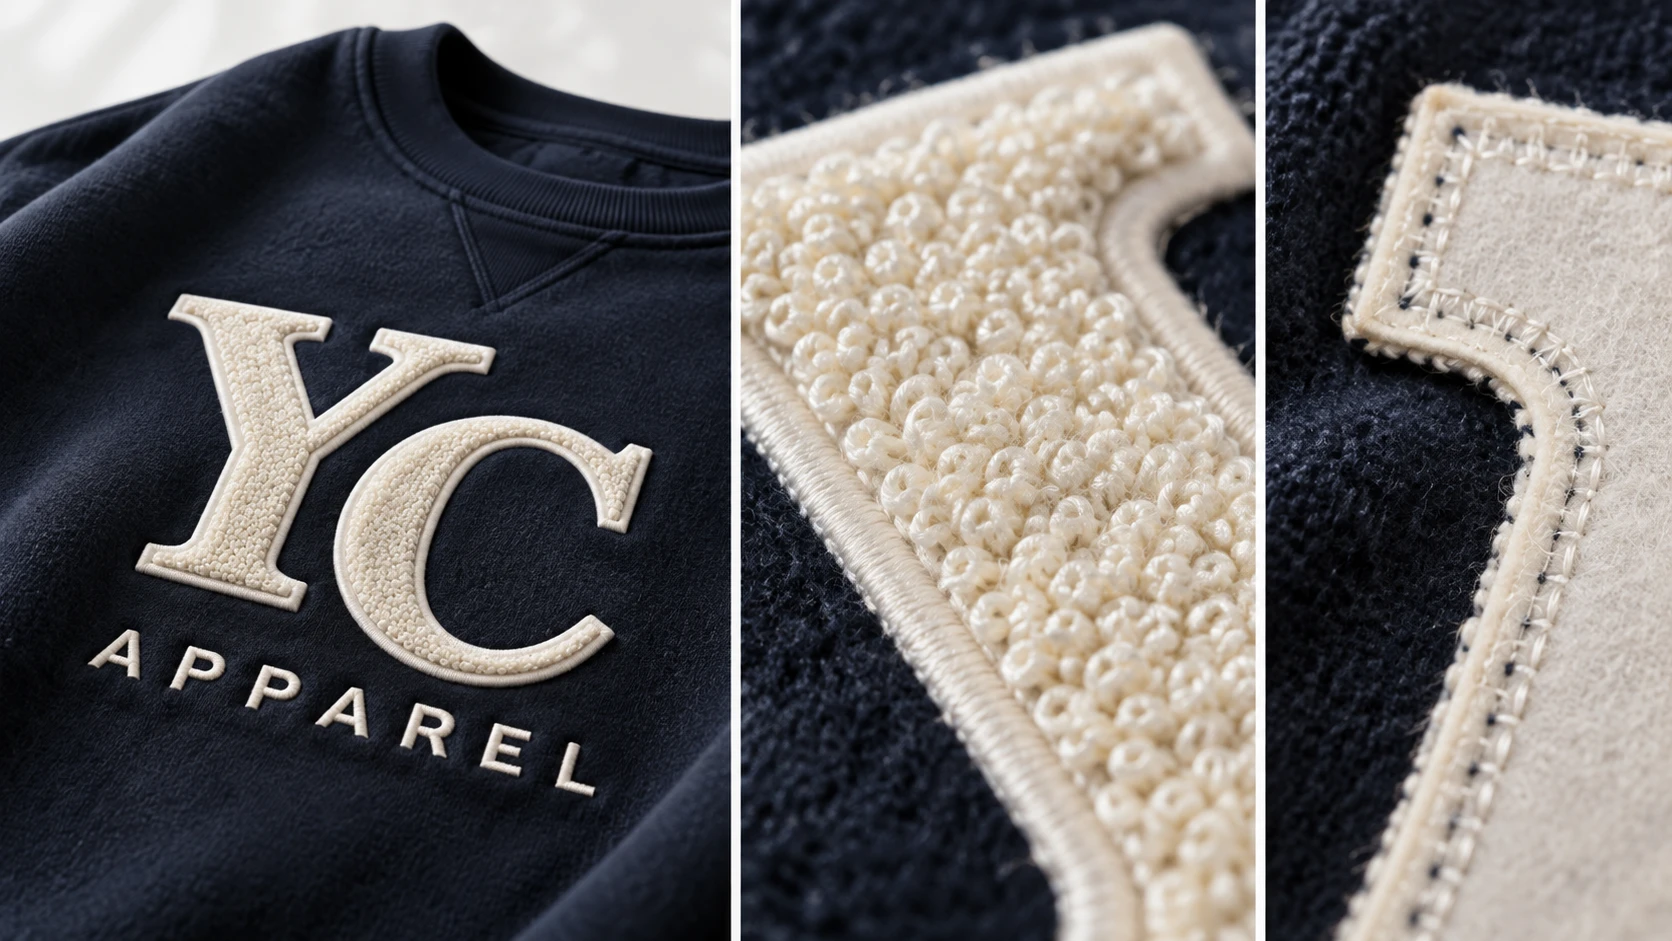
Show the artwork at its finished width and height. Highlight the smallest letters, narrowest gaps and sharpest corners that must remain recognizable. Ask the processor to mark any details that need adaptation for the proposed construction.
Do not set a universal minimum letter height from an unrelated example. Yarn, texture, construction and the desired relief affect what can be reproduced. A processor’s actual-size trial is more useful than an unsupported online rule.
If simplification is needed, approve the revised artwork before evaluating the sample as a faithful logo reproduction. Save both the original and approved production revision. A clearer sample is not acceptable if it unintentionally changes a protected brand mark or important lettering.
| Decision | What to send / confirm |
|---|---|
| Scale | Finished width, height and actual-size reference |
| Texture | Physical reference or clearly described visual direction |
| Small details | Letters, corners and negative spaces that matter |
| Outline | Border appearance, color and relationship to raised areas |
| Color | Named yarn references and sample approval |
| Base | Actual garment material and intended placement |
03
Distinguish a patch from direct application
Ask whether the proposed route creates a separate patch or applies the decoration as part of the garment process. For a patch, identify its base, edge, backing and attachment method. “Patch supplied” and “patch attached to finished garment” are different quotation scopes.
Review how the attachment behaves at the edges and how the reverse feels against the wearer. Stabilizing materials support different functions; they should be chosen and finished for the actual construction.[2] Do not approve only the front face.
If a heat-assisted attachment is proposed, ask the processor to assess compatibility with the garment and other decoration. If stitching is proposed, review its visibility, placement and effect on the surrounding material. This guide does not prescribe a universal temperature, stitch count or bonding route.
Keep four decisions visible
- ArtworkLegibility at the actual finished size.
- TextureRaised face, outline and color references.
- AttachmentPatch / direct route, edge and reverse finish.
- GarmentWear, drape and agreed after-care result.
04
Approve the assembled garment, including after care
Request a close-up, a full garment view, an edge view and the reverse. Compare the sample in a relaxed condition and in its intended worn position. A large raised motif can alter drape or feel substantial even when the face looks attractive.
Agree the care evaluation for the complete construction. Record changes in appearance, edge behavior, attachment and surrounding fabric. Do not infer wash durability from a new patch lying on a desk, or turn an informal sample check into a certified performance claim.
For an illustrative varsity-letter project, the first trial may show that an internal gap closes visually once the surface is raised. The next step is an approved artwork adjustment and a new actual-size trial. Enlarging the website photograph does not solve the physical design problem.
| Area | Review question |
|---|---|
| Face | Is the intended relief and color balance achieved? |
| Detail | Are letters and spaces still recognizable? |
| Edge | Is the outline controlled and attachment acceptable? |
| Reverse | Is the finish suitable for wearer contact? |
| Whole garment | Does it hang and move as intended? |
| After care | Are the agreed appearance and attachment requirements met? |
05
How to brief a chenille project with Yuchen
Yuchen can arrange chenille work through a partner processor. The appropriate route and achievable detail must be confirmed against the artwork, garment material and a representative sample. This is not a claim of in-house chenille equipment or a guarantee that every reference can be reproduced unchanged.
Send the source artwork, finished dimensions, placement, garment fabric information and intended quantity. Include a physical texture reference if available. Ask the quotation to distinguish development, patch production where relevant, attachment and finished-garment review.
No customer production case or physical sample has been used as evidence in this guide. The illustrations explain what to inspect. For a live project, keep the approved sample, file revision and partner-process scope together before releasing production.
If the design priority is fine detail rather than raised texture, revisit the wider decoration-method comparison before committing to a chenille interpretation.
06
Chenille artwork and sample brief
Define the texture, legibility and attachment requirements before the partner processor develops the sample.
Keep unconfirmed capability details open until the processor reviews the actual artwork and material. Attach the physical sample approval when available. This brief is not a blanket approval of a technique or a promise of an untested result.
Chenille artwork and sample brief
Complete the working record, export it to continue later, or print your entries. No account is required.
Open the editable record ↗Download blank text brief07
Questions buyers ask
Can Yuchen arrange chenille embroidery?
Yes, through a partner processor. Send the artwork, size, placement and garment material so the route and sample requirements can be confirmed.
Can very small lettering be made in chenille?
It needs a design-specific review. Ask for an actual-size adaptation and sample rather than relying on a universal minimum dimension.
Is a chenille patch ready to apply to any garment?
No. Confirm the patch construction, intended attachment and compatibility with the garment, then review the finished assembly and its care response.
Sources & further reading
Sources checked 18 October 2026. The notes below identify what each source supports. Editorial examples, planning assumptions and illustrations are not supplier test results or official acceptance limits.
- Tajima — TCMX Chenille EmbroideryExplains loop and chain stitching and chenille texture. Equipment illustration does not establish Yuchen equipment ownership.
- Madeira — Embroidery StabilisersExplains backing and topping roles; selection depends on fabric and embroidery.