
Custom apparel / Craft & Techniques
The right craft.For your design.
Explore print, embroidery, washed finishes and panelled construction. Start with the effect you want, then review the fabric, artwork and sample together.
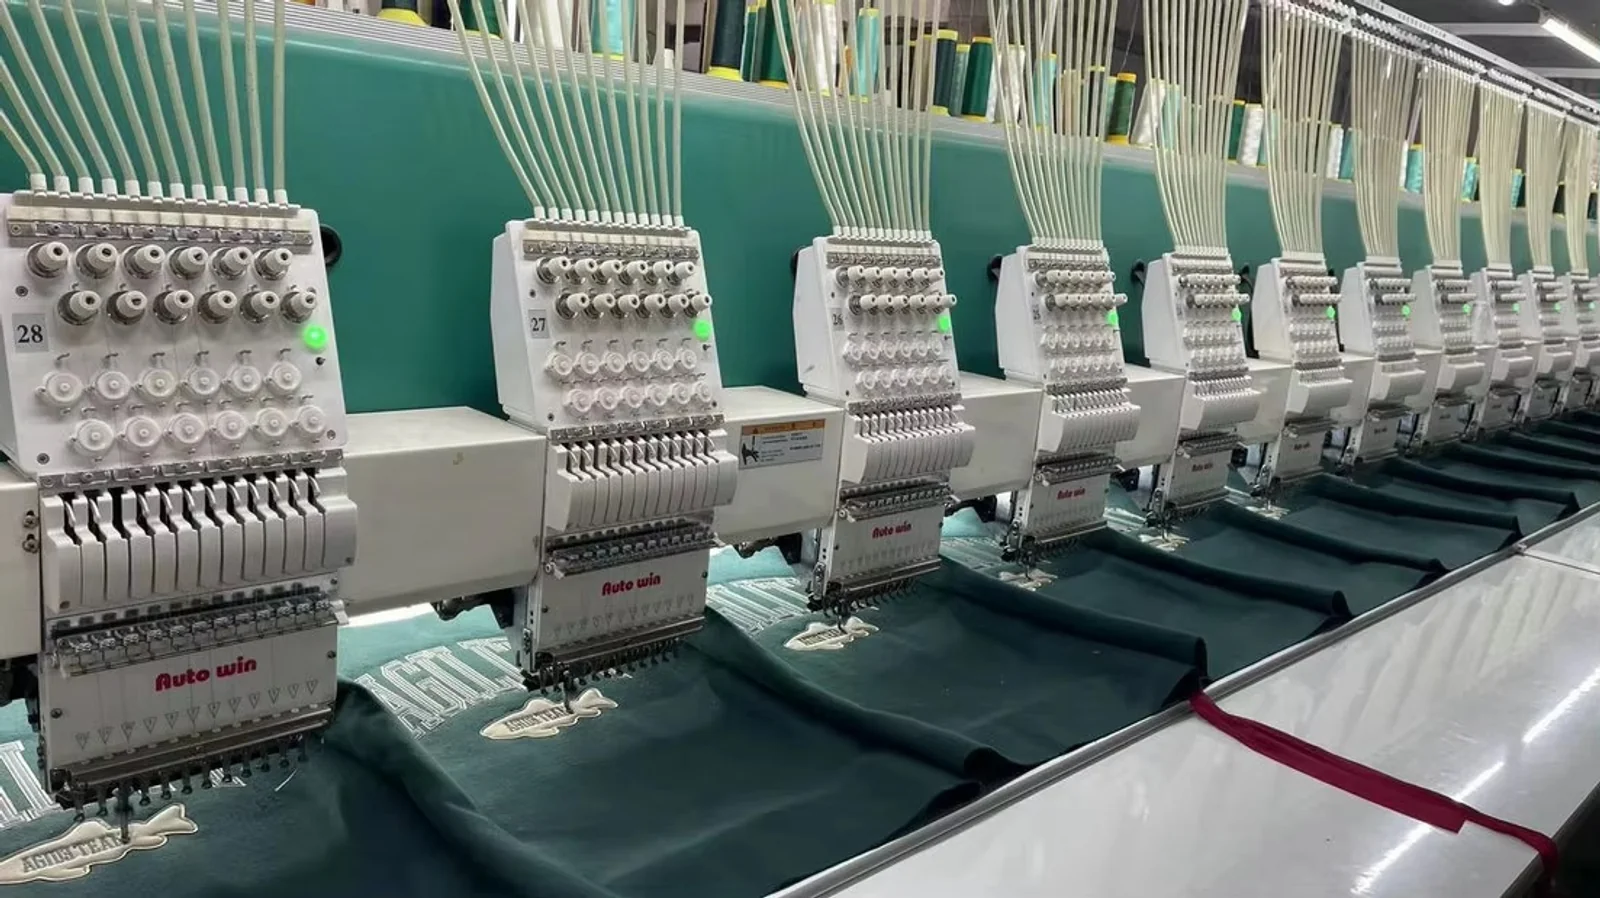
Yuchen-supplied factory photo. View full photo ↗
01 / Find a starting point
What should
your design feel like?
The same graphic can feel very different in ink, thread or layered fabric. Use the comparison to shortlist a route, then open its sample checklist.
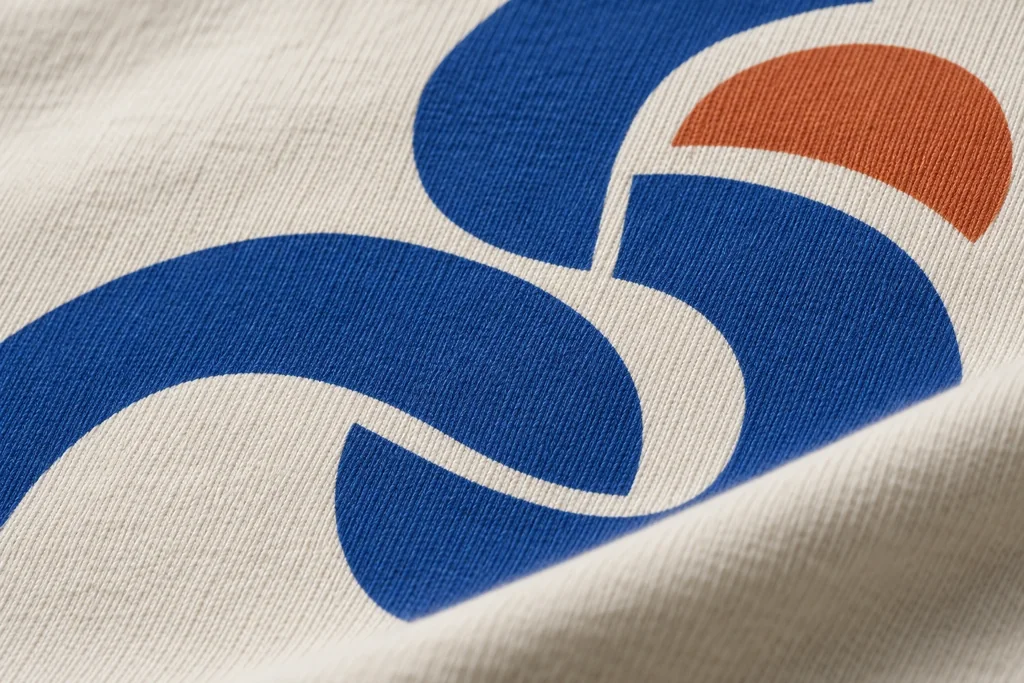
Screen printing
Flat ink. Clear edges.
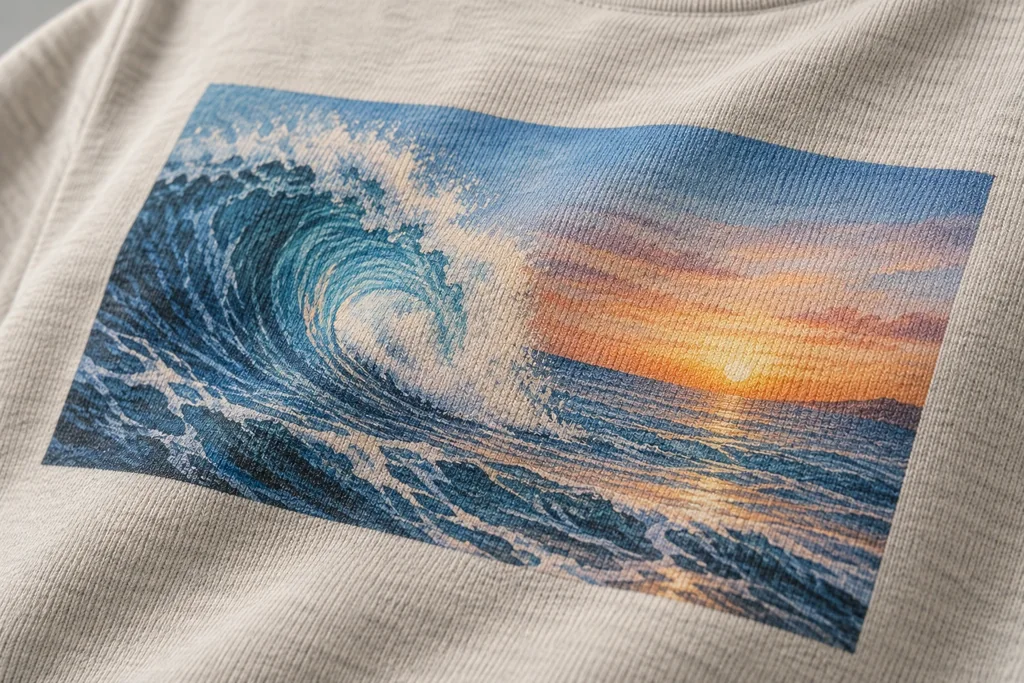
Digital & transfer printing
Fine detail. Tonal color.

Puff & raised print
Raised ink. Rounded relief.
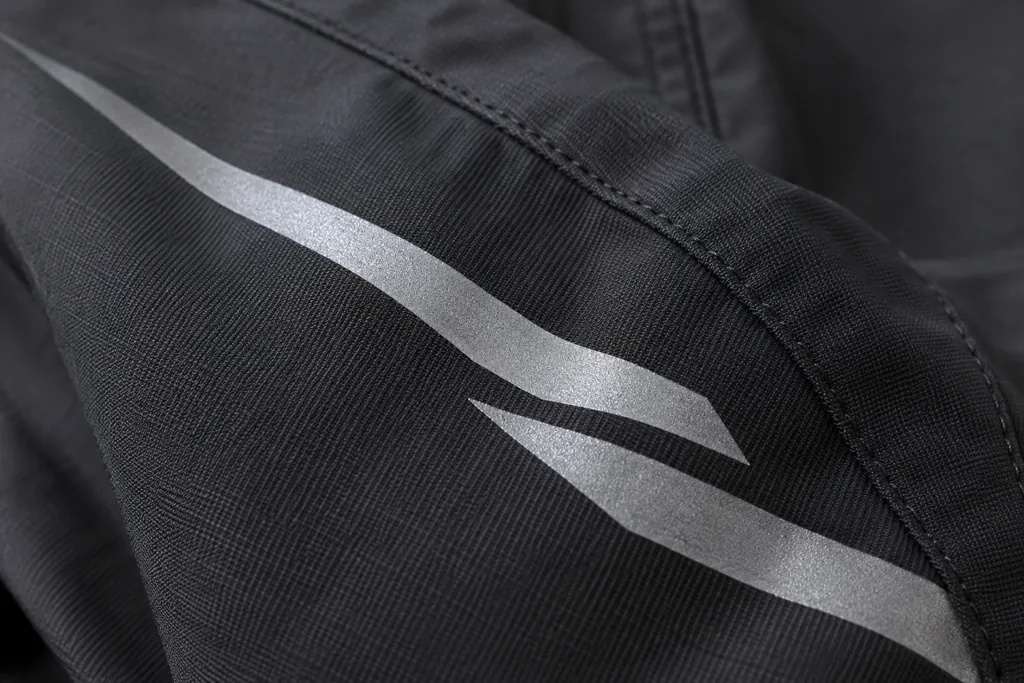
Reflective transfer
Light-catching surface. Clean edges.
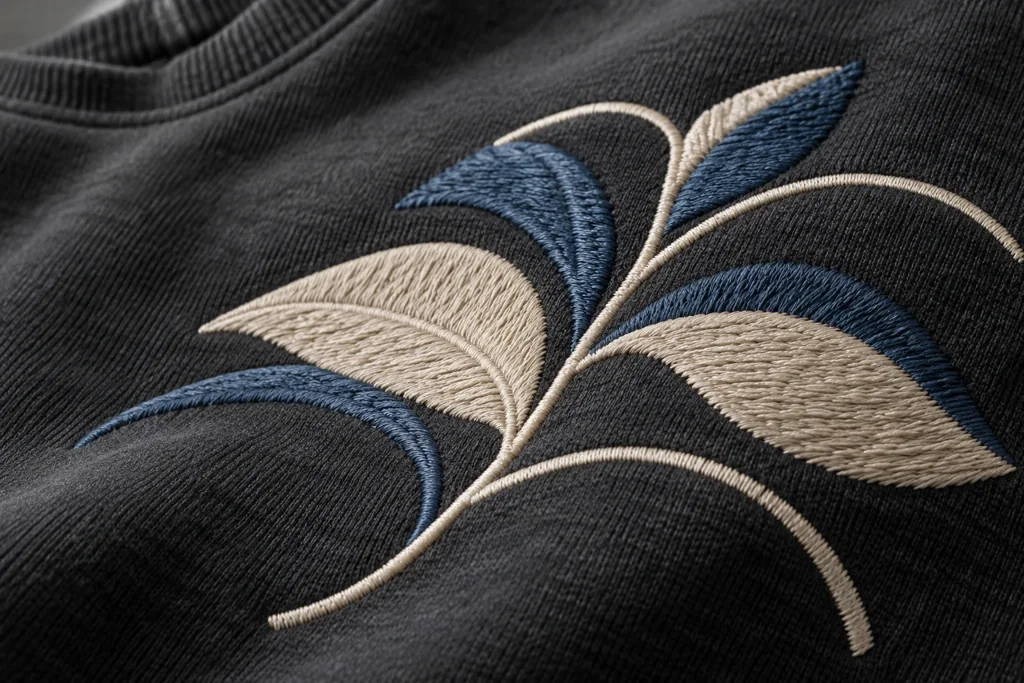
Embroidery
Thread direction. Surface texture.

Chain-stitch embroidery
Linked loops. Fluid lines.

Appliqué
Fabric layers. Stitched edges.

Washing & distressing
Faded seams. Worn edges.
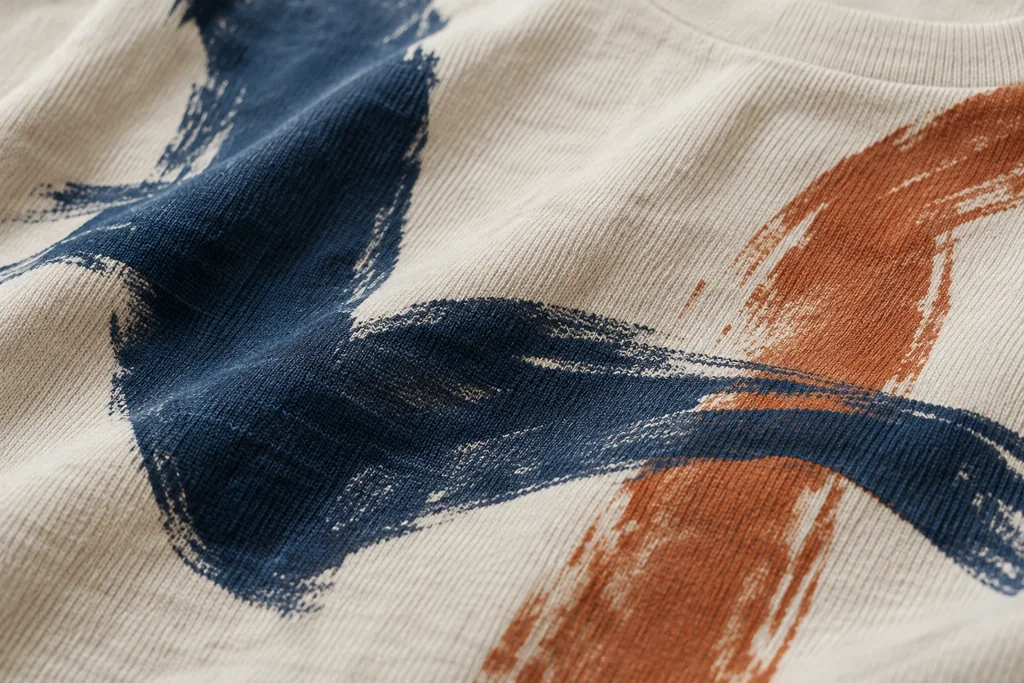
Hand-painted finishing
Brush marks. Individual character.
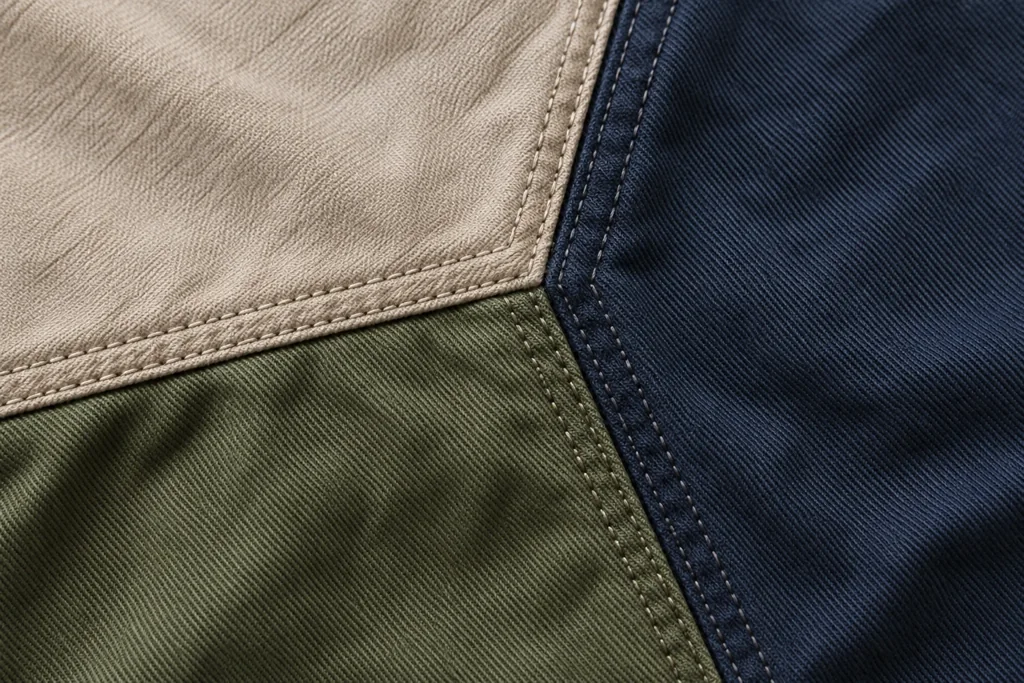
Cut, panel & splice
Panel geometry. Seam alignment.
| Technique | Visual effect | Fabric starting point | Key decision |
|---|---|---|---|
| Screen printing ↗ | Flat graphics & defined color areas | Cotton jersey, fleece and other approved fabric bases. | Review color count, fine lines and coverage. |
| Digital & transfer printing ↗ | Detailed or multicolor artwork | Method depends on fiber content and heat response. | Do not assume every transfer works on every fabric. |
| Puff & raised print ↗ | A graphic with visible ink relief | Discuss stable jersey or fleece for your design. | Fine lettering and exact height need a sample. |
| Reflective transfer ↗ | Light-catching graphics & surface accents | Review the shell, stretch and surface finish. | Match heat response, adhesion and light behavior. |
| Embroidery ↗ | Thread texture & a defined motif | Stable jersey, fleece or a reviewed woven base. | Fabric weight, stitch density and backing work together. |
| Chain-stitch embroidery ↗ | Looped thread lines & flowing outlines | Stable jersey, fleece or a reviewed woven base. | Approve loop scale, curve definition and tension. |
| Appliqué ↗ | Layered fabric with stitched edges | Base and appliqué fabrics must be reviewed together. | Weight, fraying and shrinkage can change the look. |
| Washing & distressing ↗ | Faded tone, worn edges & surface character | Review cotton jersey, fleece or twill by composition. | Approve a range of variation, not a screen color alone. |
| Hand-painted finishing ↗ | Brush texture & individual surface character | Discuss jersey or woven bases with a paint test. | Agree an acceptable range of hand variation. |
| Cut, panel & splice ↗ | Color blocking & constructed surface lines | Review panel fabrics for weight and shrinkage. | Resolve panel geometry before decoration. |
Combining techniques? Mark the placement and order you have in mind. Decoration, seams and garment washing need to be reviewed as one finished garment.
02 / Know what to confirm
Explore the craft.
One detail at a time.
A closer look at texture, color and construction. Slide through the collection and open a technique to explore its details.
Screen printingFlat ink. Clear edges.Explore the details
- Fabric starting point
- Cotton jersey and fleece are useful starting points. Share the exact composition, color and surface finish so the ink system can be reviewed.
- Visual effect
- Defined graphics, lettering and solid color areas. Ask for the hand feel you want: a soft surface and a heavier ink deposit are different targets.
- Artwork to send
- Editable vector artwork where available, with fonts outlined; include the final width and height, color references and a placement drawing. Keep a separate reference for any distressed artwork.
- Limits to discuss
- Very fine lines, gradients, many colors and printing across seams need a method review. A large print area can change how the fabric feels and moves.
- Check the sample
- Review edge definition, color registration, coverage on the garment color and placement. Check the print after the intended care wash, including hand feel, adhesion and any agreed vintage effect.
Digital & transfer printingFine detail. Tonal color.Explore the details
- Fabric starting point
- Send the fiber composition, stretch level and any coating or finish. Digital printing and heat transfer are different routes; the suitable combination needs a fabric review.
- Visual effect
- A route to discuss for detailed illustrations, multicolor artwork or defined transfer graphics. The final hand feel depends on the process and coverage.
- Artwork to send
- Supply the original high-resolution artwork at the intended output size, plus a separate placement layout. Identify transparent areas and provide color references; confirm file format and resolution with the team before production.
- Limits to discuss
- Heat sensitivity, stretch, dye migration and surface texture can affect the result. A machine photograph does not establish compatibility with your fabric or a particular print system.
- Check the sample
- Review fine details, dark and light areas, edge quality and color on the actual fabric. Check stretch response where relevant and inspect the surface and edges after the agreed care wash.
Puff & raised printRaised ink. Rounded relief.Explore the details
- Fabric starting point
- Discuss stable jersey or fleece and share its weight, composition and finish. Confirm the selected raised-ink process on that exact base.
- Visual effect
- A raised surface that gives bold shapes and lettering more dimension. Specify which areas should be raised and which should stay flat.
- Artwork to send
- Send editable artwork with raised and flat areas clearly separated, final dimensions, placement and a reference for the desired relief and edge shape.
- Limits to discuss
- Very small gaps, thin strokes and dense details may lose definition. Height, edge shape and uniformity are sample approval points, not fixed outcomes from a digital mockup.
- Check the sample
- Compare the relief across the design, edge clarity, color and placement. Review the feel and appearance after the intended wash and any garment finishing.
Reflective transferLight-catching surface. Clean edges.Explore the details
- Fabric starting point
- Share the exact shell fabric, stretch level and any coating. Confirm heat tolerance and the transfer system on the selected base.
- Visual effect
- A silver or light-catching graphic that changes appearance with the lighting angle. Define the effect in normal and directional light.
- Artwork to send
- Provide vector shapes, dimensions, placement and references photographed under the lighting conditions you want to discuss.
- Limits to discuss
- Seams, fabric texture, stretch and heat sensitivity can affect adhesion. Agree the material and application route before approving the effect.
- Check the sample
- Review edge adhesion, surface feel and appearance in normal and directional light. Check flexing and the agreed wash response.
EmbroideryThread direction. Surface texture.Explore the details
- Fabric starting point
- Stable jersey, fleece and suitable woven fabrics can be discussed. Lightweight or stretchy bases need particular attention to support and distortion.
- Visual effect
- Thread gives a logo or motif texture and a different light response from ink. Share whether the design should feel compact, open or more heavily filled.
- Artwork to send
- Send clean artwork, finished dimensions, placement and thread color references. Include a stitch-style reference if you have one. The stitch file and digitizing requirements are confirmed after the artwork review.
- Limits to discuss
- Small lettering, fine gaps and dense coverage may need simplification. Review puckering, backing, access near seams and the feel against the skin before choosing the stitch plan.
- Check the sample
- Inspect legibility, thread color, stitch coverage, backing and the reverse side. Compare the motif and surrounding fabric before and after the agreed wash for distortion or puckering.
Chain-stitch embroideryLinked loops. Fluid lines.Explore the details
- Fabric starting point
- Start with a stable jersey, fleece or woven base. Review the fabric weight and support needed for the intended stitch path.
- Visual effect
- Linked loops create a distinct thread line for outlines and flowing motifs. The thread size and loop spacing shape the surface.
- Artwork to send
- Send clean line artwork, finished dimensions, placement and a close-up reference for the loop size and thread color.
- Limits to discuss
- Tight curves, tiny gaps and narrow lettering need review. Loop texture should suit the motif without pulling the surrounding fabric.
- Check the sample
- Inspect loop consistency, starts and ends, tension and the reverse side. Check for loose loops and distortion after the agreed care wash.
AppliquéFabric layers. Stitched edges.Explore the details
- Fabric starting point
- Discuss a stable base such as fleece or a suitable woven fabric. Specify the appliqué material separately, including its weight, texture and intended edge finish.
- Visual effect
- A layered motif built from fabric pieces and attached stitching. A clean edge and an intentionally raw edge need different approval references.
- Artwork to send
- Provide the shapes for each layer, finished dimensions, placement, fabric references and stitch or edge-finish notes. Show overlap order when the motif uses several pieces.
- Limits to discuss
- Very narrow pieces, intricate corners, added weight and different shrinkage between layers need review. Confirm whether fraying is intentional and how much variation is acceptable.
- Check the sample
- Check shape, alignment, attachment, edge treatment and thickness. Review comfort on the reverse and whether the layers ripple, fray or shift after the intended wash.
Washing & distressingFaded seams. Worn edges.Explore the details
- Fabric starting point
- Cotton jersey, fleece and twill are starting points to discuss. The exact fabric, dye and trims determine the finishing route; a reference image alone cannot define the process.
- Visual effect
- A softer-looking tone, localized fading, abrasion or deliberately worn edges. Define shade and distress locations separately so the desired look can be assessed.
- Artwork to send
- Supply overall and close-up references, a marked placement map and notes on contrast, worn areas and any repair details. Identify areas that must remain intact and show how print or embroidery should look after finishing.
- Limits to discuss
- Shade and abrasion may vary between pieces. Review shrinkage, fabric strength, trim response and the order of decoration and washing. Confirm the specific wash method during development.
- Check the sample
- Measure the finished garment; compare shade, feel and distress locations with the approved references. Check seams, trims and decoration together, and record an acceptable variation range for production.
Hand-painted finishingBrush marks. Individual character.Explore the details
- Fabric starting point
- Discuss the garment’s composition, color and finish. Confirm the paint system and the desired feel on the actual material.
- Visual effect
- Brush marks and local color variation add handmade character. Define the overall coverage and which areas should remain clear.
- Artwork to send
- Send the composition, placement map, color references and close-ups of the brush texture. Mark acceptable variations between pieces.
- Limits to discuss
- Hand-applied marks will not be identical on every garment. Review coverage, handle, application order and the agreed variation limits.
- Check the sample
- Compare color, placement and brush character with approved references. Check the fabric feel, flexing and appearance after the intended wash.
Cut, panel & splicePanel geometry. Seam alignment.Explore the details
- Fabric starting point
- Specify the fabric for every panel. Review weight, stretch, shrinkage and movement together so the garment behaves as one piece.
- Visual effect
- Seamed panels create color changes and structural lines. The effect comes from garment construction rather than a surface print.
- Artwork to send
- Send front and back drawings, panel boundaries, seam and topstitch references, color assignments and key measurements.
- Limits to discuss
- Panel junctions affect thickness and fit. Review the sequence with artwork, pockets, zips and any planned garment wash.
- Check the sample
- Inspect seam alignment, panel balance, topstitch consistency and movement. Recheck dimensions and seam appearance after the agreed wash.
03 / Inside the process
The work
behind the surface.
Yuchen-supplied photographs show the equipment and fabric handling behind the conversation. Your actual artwork still needs its own sample.
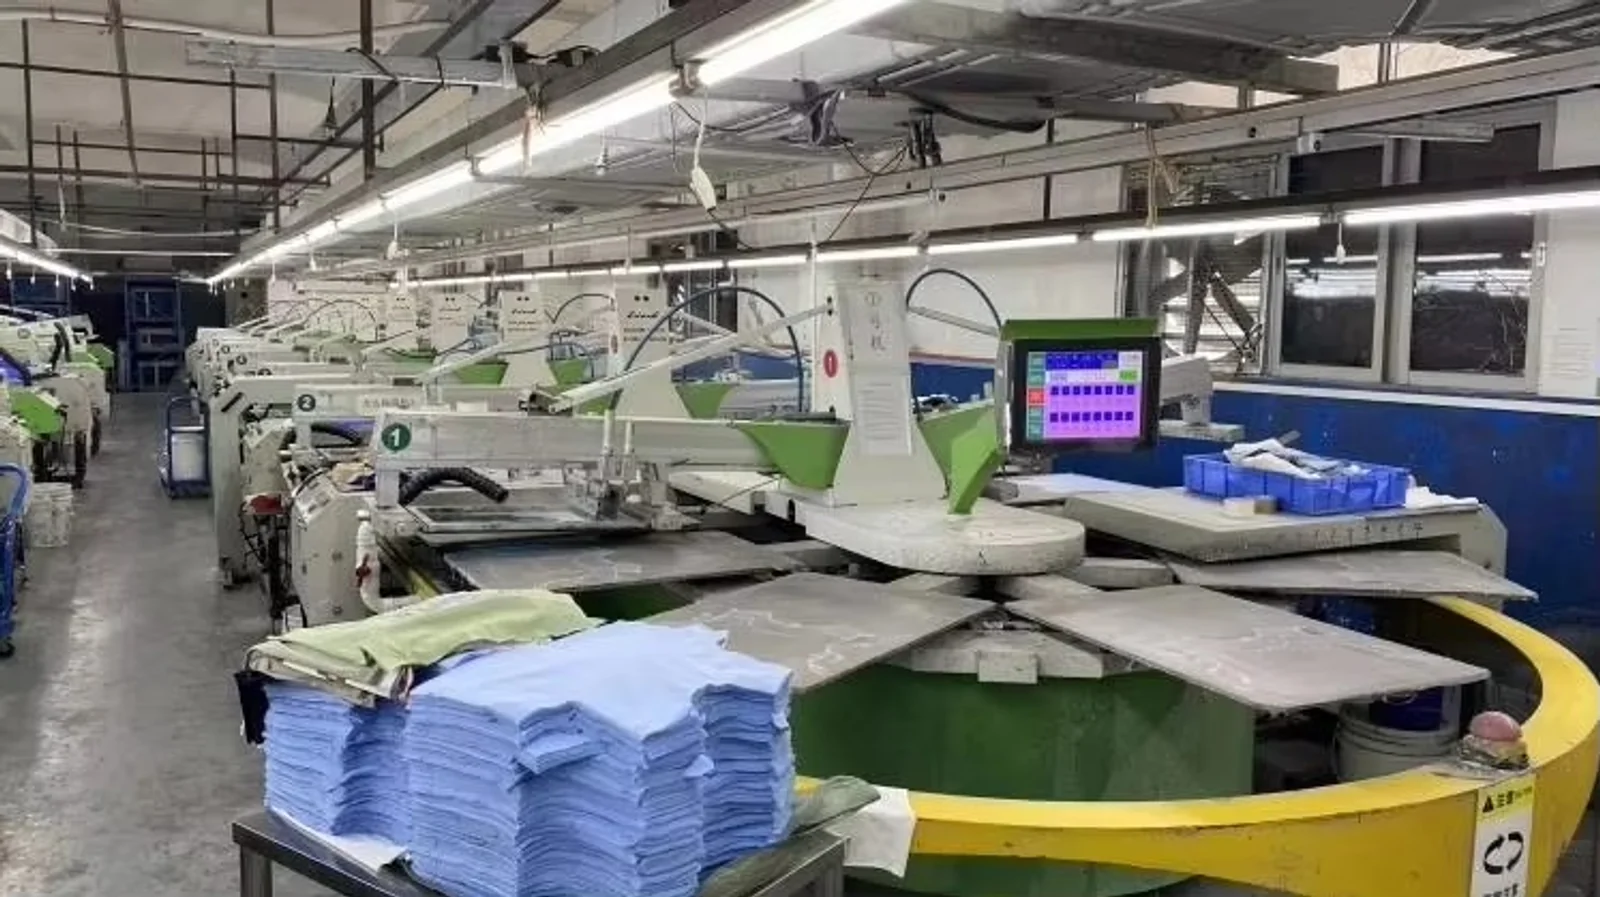
Original factory photo.
Original factory photo.
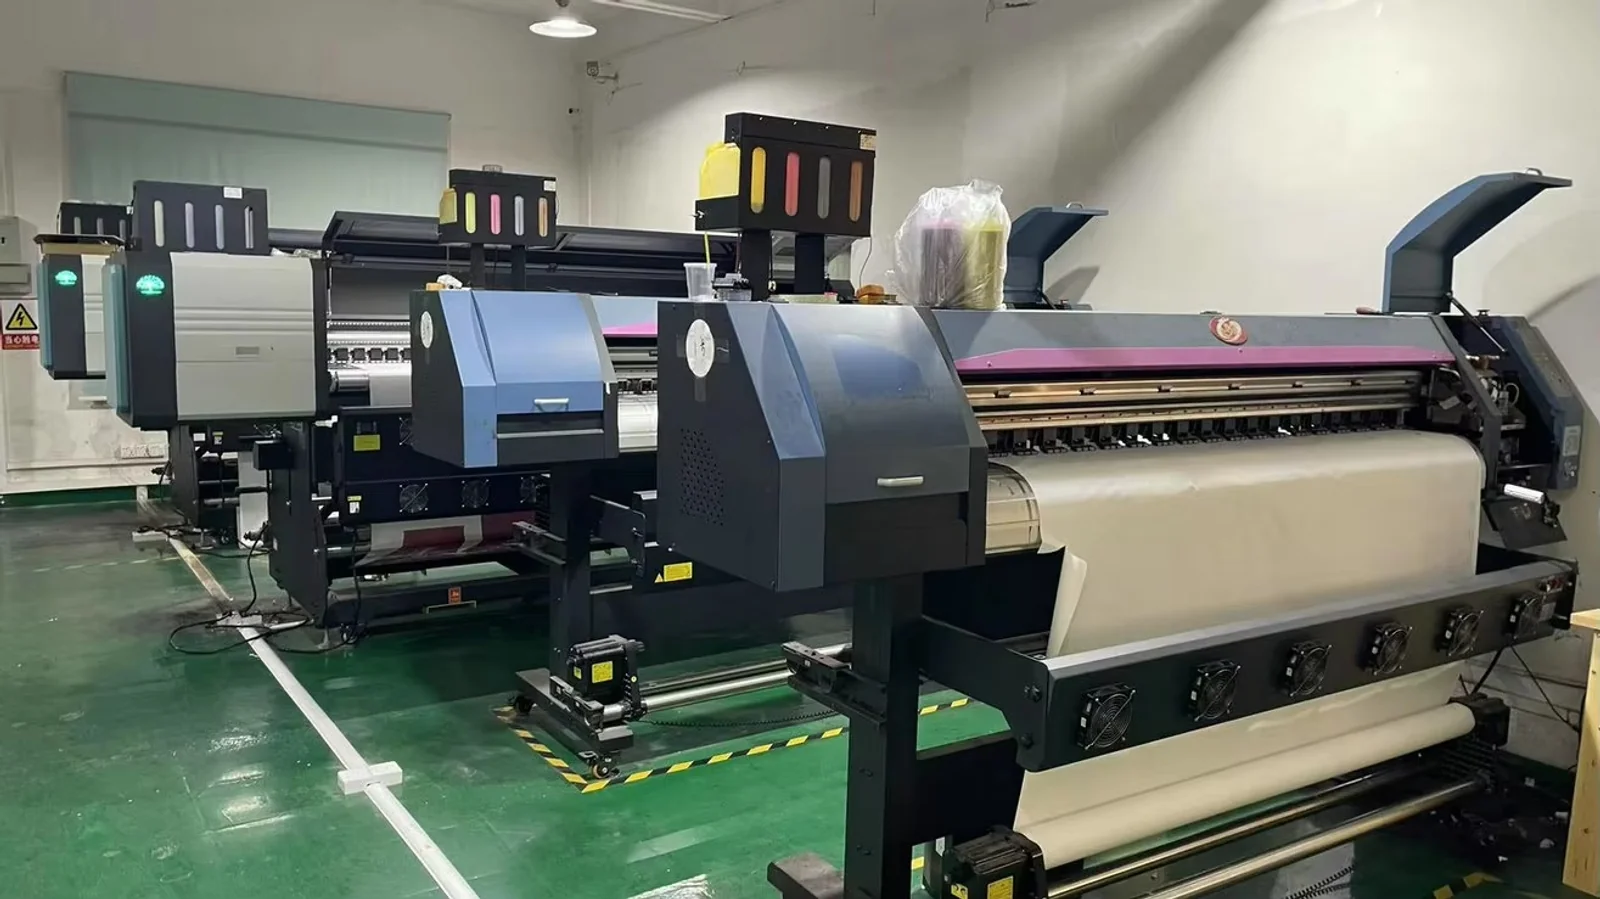
Original factory photo.
The three workshop photos in this section are from Yuchen’s supplied image library and were retained as WebP copies for display. They document equipment, not a tested result for every fabric or technique.
04 / Make the sample useful
Send the details.
Agree the checks.
A clear brief connects the visual idea to something you can approve. You can start with a reference image; mark what you want to keep and what should change.
Prepare these four things.
- The garment and fabricProduct type, composition, target GSM or hand feel, garment color, fit reference and any finishing plans.
- The original artworkEditable files where available, outlined fonts, final dimensions and color references. Keep artwork separate from the placement mockup.
- Placement and effect referencesFront, back and detail views; distances from seams; raised, stitched, raw-edge or faded areas; and the desired feel.
- Your order contextQuantity per style and color, size range, target arrival date, branding and packaging requirements.
Open T-shirt guide & Excel templates
Approve the finished combination.
- Appearance on the actual fabricCompare scale, placement, color and texture in consistent lighting. A digital mockup is a reference, not the approval standard.
- Comfort and constructionCheck hand feel, backing, added thickness and contact with seams or trims. Review the inside as well as the outside.
- Response to the intended washAgree the care or finishing test, then check measurements, surface appearance, attachment and any color or texture change.
- A recorded approvalKeep the approved sample, artwork revision, dimensions, color references and agreed variation limits together before bulk production.
See the development process
05 / Build around the garment
Put the technique
in context.
Fabric weight, fit and construction can change the right decoration choice. Explore the product brief alongside the surface treatment.
Request a technique review
Show us the design.
Let’s review the route.
Send your artwork, fabric reference and the effect you want. We’ll discuss feasibility, sample scope and the details to confirm before production.
Discuss your designPlan around the sample.
Garment MOQ starts at 100 pieces per style, per color, with mixed sizes. Standard samples usually take around 15 days after design confirmation and payment; complex effects may need 20–30 days. Confirm material availability, revisions and the schedule for your project.
Technique-specific costs and any separate requirements for labels or packaging are quoted for your project.
Plan labels & packagingMore questions before sampling