
01
Understand what creates the visible surface
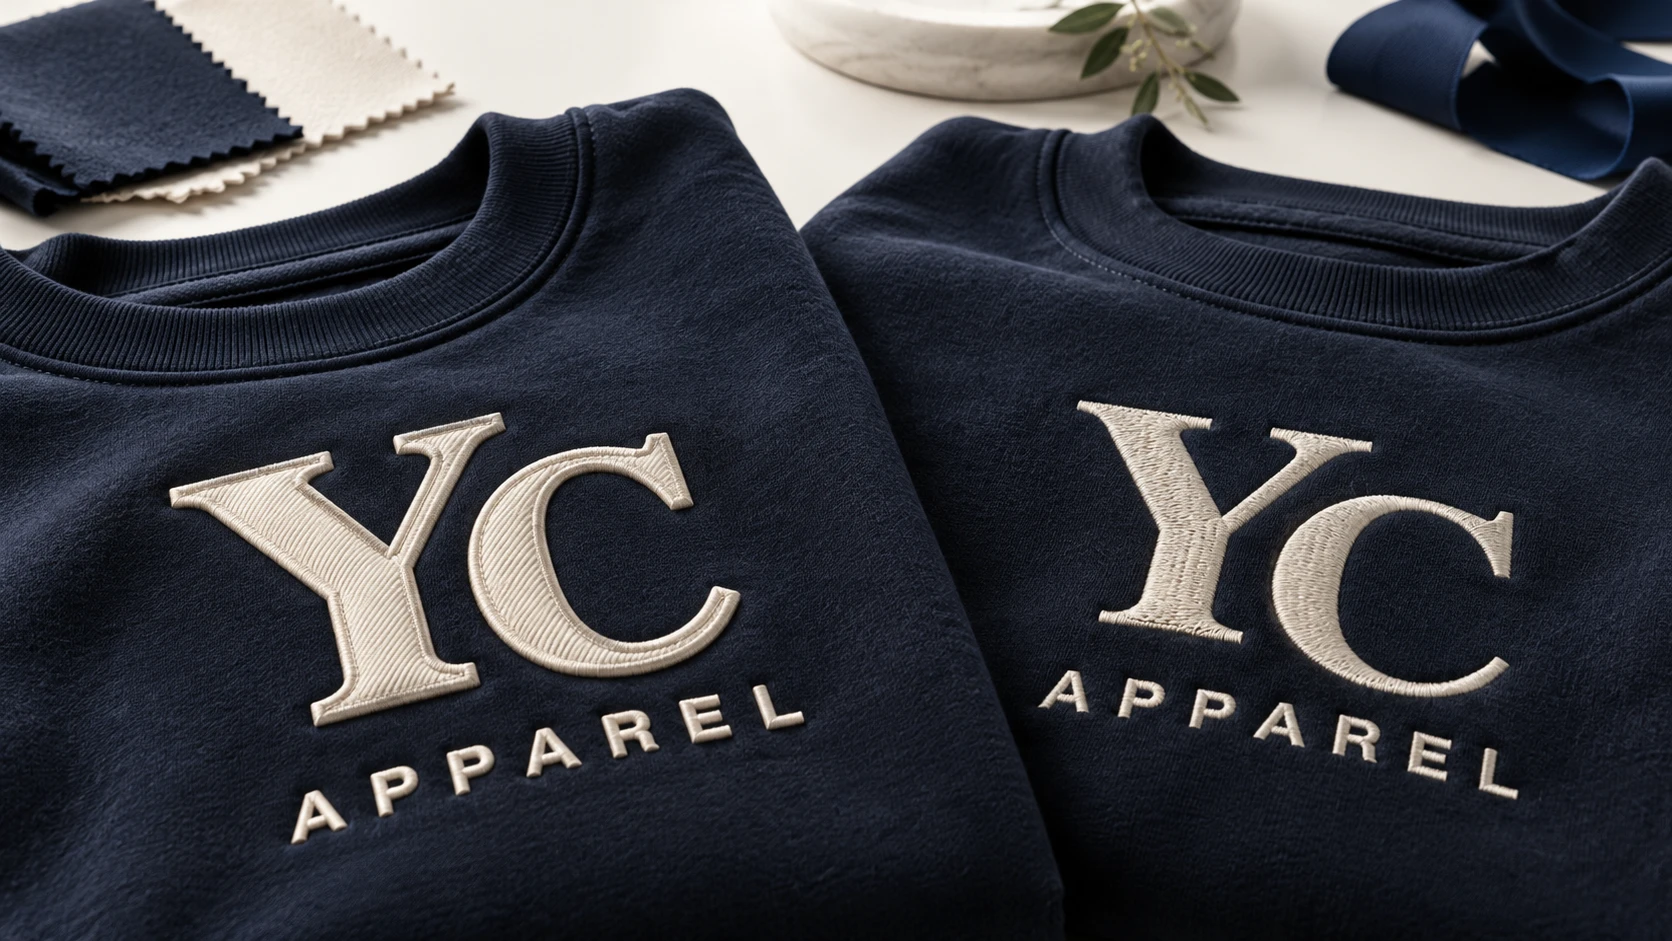
Wilcom describes appliqué as cut material applied to another surface and documents its stitching stages.[1] [2] That construction changes the design decisions: the inserted material supplies much of the surface, while the edge treatment becomes a prominent detail.
In direct embroidery, thread and stitch construction create the visible fill. Neither description establishes which option is lighter, softer, cheaper or more durable for your artwork. Those outcomes depend on dimensions, materials, construction and production scope.
Ask for a comparison using the same intended motif size and garment location. A small embroidered badge beside a large appliqué panel is not a fair way to compare handle or cost. Keep deliberate design changes visible rather than attributing every difference to the technique.
| Question | Appliqué | Direct embroidery |
|---|---|---|
| What forms the surface? | Selected insert material | Thread and stitch construction |
| What defines the edge? | Cut edge plus chosen attachment / finish | Stitched outline or fill boundary |
| What needs reverse review? | Attachment and any support materials | Backing, threads and finish |
| What drives the quote? | Materials, cutting, placement and stitching scope | Digitizing, stitching and production scope |
02
Review edges and negative spaces at actual size
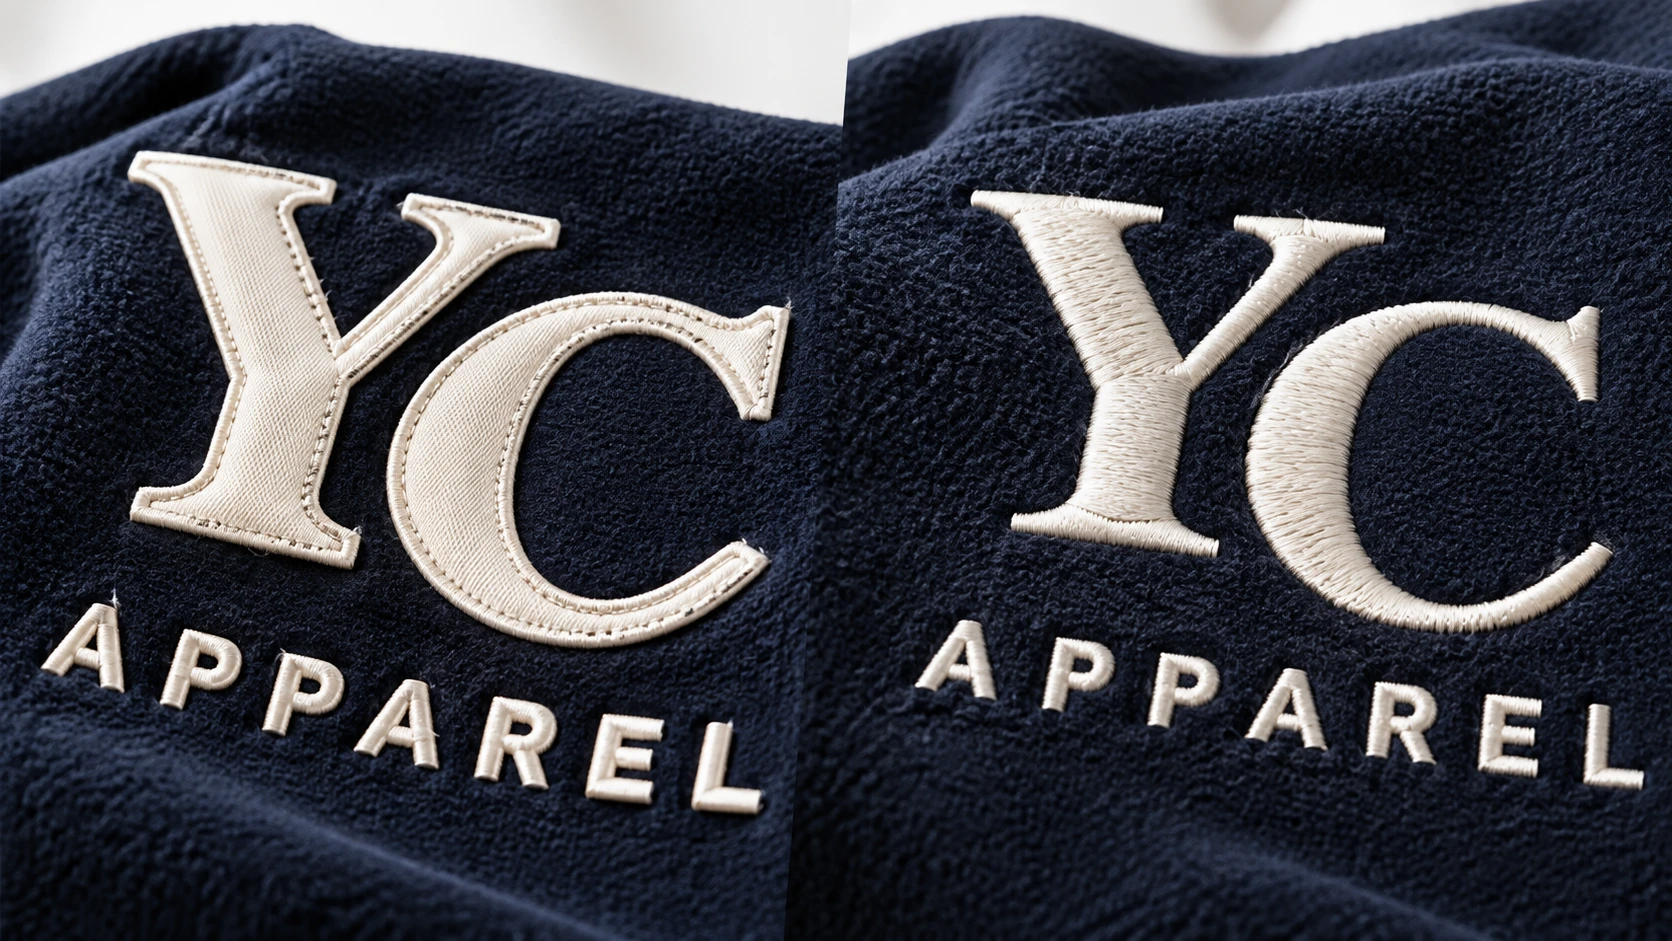
Choose whether the edge should look clean, raised, visibly stitched or deliberately raw. If a raw edge is intended, define the acceptable appearance after the agreed care sequence. Do not call uncontrolled fraying a design feature after it appears.
Small lettering and narrow gaps may require simplification in either construction. Ask the producer to show the proposed adaptation at actual size. Preserve the approved logo proportions and record any intentional change to outlines or spacing.
For layered appliqué, identify the order and material of each piece. A mockup can hide overlaps and thickness that become obvious on the garment. Review a side view and a worn view as well as the front-facing product image.
03
Check weight, drape and the reverse
Place the sample on the intended garment and inspect how the decorated area hangs. A large motif can affect a light body fabric differently from a heavyweight sweatshirt. The fabric choice and decoration choice should therefore be reviewed together.
Inspect the reverse for bulk, visible support, loose threads and contact edges. Stabilizers have different roles and should be selected for the construction, rather than treated as an invisible afterthought.[3] Ask what remains in the finished garment and how it is trimmed or covered.
Move and wear the sample in a way relevant to the product. If the design spans a flexible area, evaluate the interaction with movement. A flat desk sample is useful for edges and workmanship, but it cannot answer every comfort and drape question.
| View / condition | Decision |
|---|---|
| Front at actual size | Legibility, texture and edge identity |
| Side view | Layer height and unwanted bulk |
| Reverse | Support finish and wearer contact |
| Worn / relaxed | Drape and local distortion |
| After agreed care | Edge stability, appearance and component interaction |
04
Request comparable quotations
Give both options the same artwork revision, finished dimensions, position, garment quantity and size range. Ask suppliers to identify one-time development charges, recurring decoration charges and any material or order constraints separately.
A cheaper unit price can conceal a different insert material, unfinished reverse or excluded sampling. Conversely, a higher quote may include preparation that another quote lists elsewhere. Compare the included construction and evidence before comparing the number.
Do not make a universal “appliqué is cheaper for large designs” rule. It may be a candidate worth quoting, but cutting, placement, edge work and material choice can change the outcome. Your actual design and order scope are the basis for the decision.
Choose with a matched brief
- One artworkSame size, position and visual priorities.
- Two constructionsNamed materials and edge / stitch details.
- Physical reviewAppearance, reverse, wear and care.
- Scoped quoteDevelopment, recurring work and exclusions.
05
A worked choice without a universal winner
Imagine a hypothetical brand choosing a large varsity letter for a sweatshirt. It wants a fabric-like face and a clearly outlined edge. Appliqué is a logical construction to sample because those features can be specified directly. That does not settle the backing, attachment or care performance.
For a small detailed mark on another style, direct embroidery may be the more relevant starting point. The second brief has changed the scale and visual priorities, so its result should not be used to declare one technique superior across the collection.
Record why the selected sample wins: the particular texture, edge, drape or approved appearance. Then retain the materials and construction references that produced it. This makes future substitutions easier to evaluate than a purchase order that says only “embroidered logo.”
For a broader choice between a stitched texture and a printed surface, the embroidery versus screen-printing guide covers that separate decision.
06
Appliqué and embroidery comparison brief
Use one shared artwork brief, then record each proposed construction and its sample result side by side.
Ask for quotations against the same finished dimensions and garment quantity. Keep appearance, wear, care and commercial approval separate so a lower price does not silently approve a different construction.
Appliqué and embroidery comparison brief
Complete the working record, export it to continue later, or print your entries. No account is required.
Open the editable record ↗Download blank text brief07
Questions buyers ask
Is appliqué a type of embroidery?
The terms can overlap in production: appliqué often uses embroidery stitches to attach or finish cut material. Specify the actual construction rather than relying on a category name.
Which option is lighter?
Compare representative samples. Insert fabric, stitch coverage, layers and backing all affect the finished result.
Can I combine both methods?
Yes, a design can combine applied material with stitched detail. Identify each layer and review the combined garment, including its reverse and care response.
Sources & further reading
Sources checked 18 October 2026. The notes below identify what each source supports. Editorial examples, planning assumptions and illustrations are not supplier test results or official acceptance limits.
- Wilcom — Appliqué DesignsDefines appliqué as cut material applied to another surface and describes edge-stitch possibilities.
- Wilcom — Appliqué EmbroideryDistinguishes guide, cutting, tack and cover-stitch stages. Software documentation is not a cost comparison.
- Madeira — Embroidery StabilisersExplains backing and topping roles; selection depends on fabric and embroidery.