
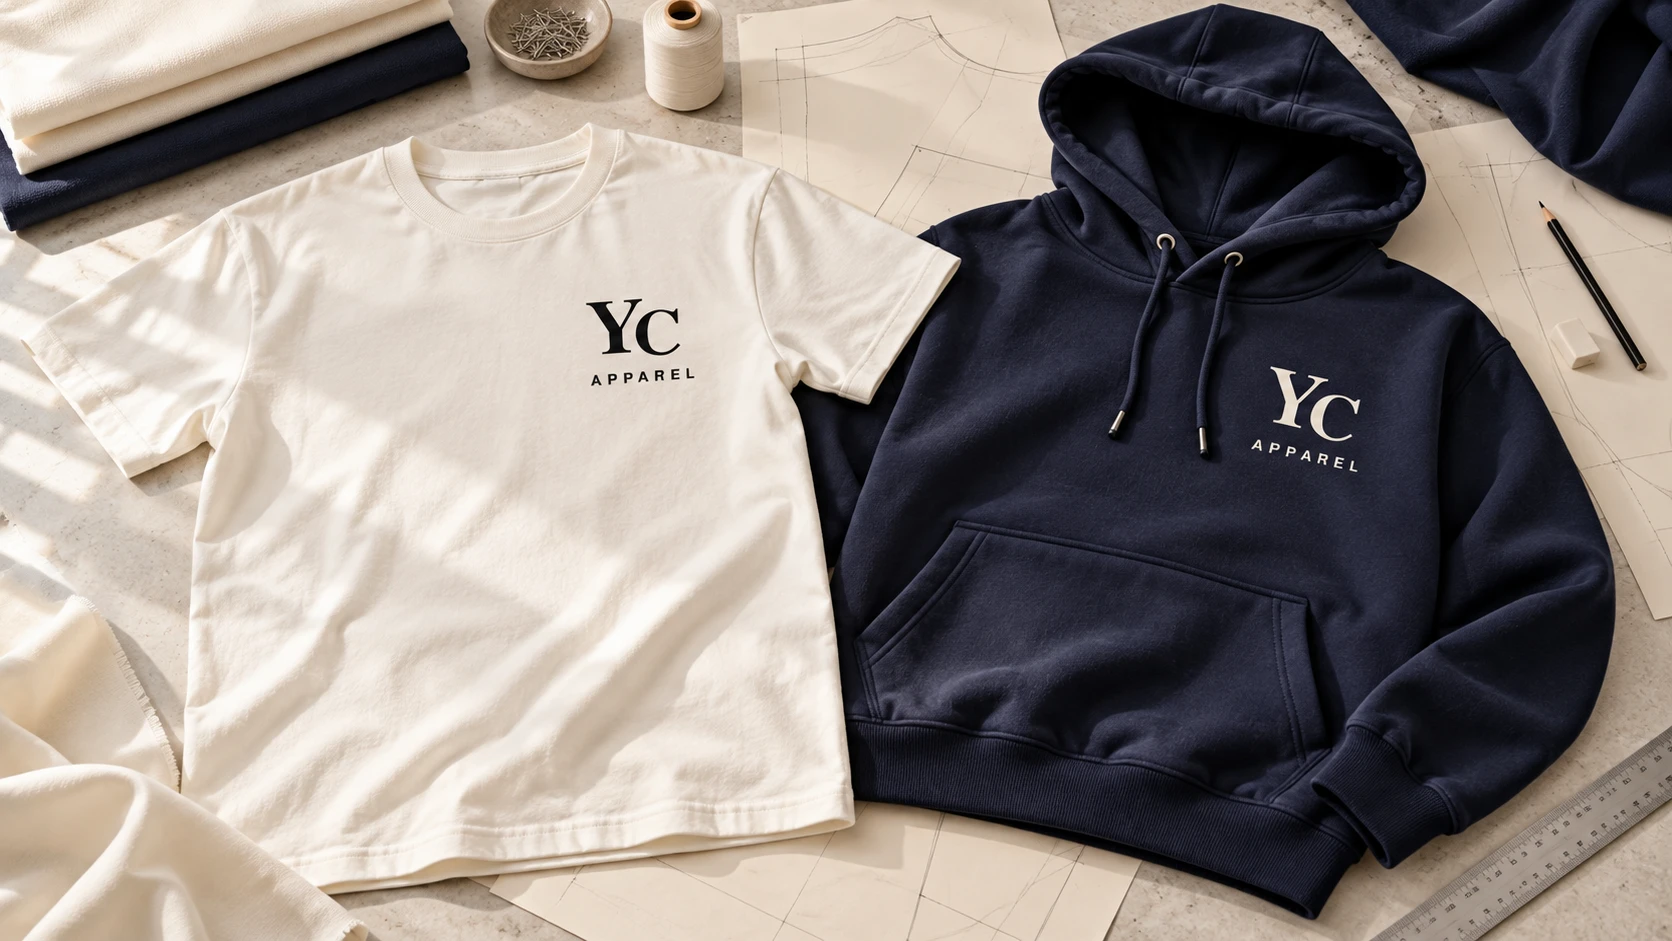
01 / Build a range from an approved fit
What is pattern grading?
Pattern grading develops additional sizes from a base pattern using defined changes at pattern points and lines. The aim is to preserve the intended design and fit across the chosen size range. It is more specific than enlarging a drawing or adding the same amount to every garment measurement.
CLO’s grading documentation distinguishes a size’s distance from the base size from the offset between neighboring sizes, with separate X- and Y-axis values.[1] For a brand buyer, the practical task is to agree the finished measurements and fit direction, then have the patternmaker translate those requirements into a workable graded pattern.
Four records that need to agree
- 01Base fitApproved sample and pattern revision.
- 02Size targetsFinished measurements for every size.
- 03Grade rulesPattern changes that create those sizes.
- 04Size-set reviewEvidence that the range works as intended.
Resolve the base fit before treating the range as ready for approval. If the base neckline, balance or sleeve shape is still changing, record that status and identify which graded sizes need another review after the correction.
02 / Keep the measurement systems separate
Body measurements, garment targets and grade rules are different
Body measurements describe the intended wearer. ISO 8559-1 provides anthropometric measurement definitions for developing body-size and shape profiles.[2] Its public scope does not provide your finished oversized T-shirt measurements or establish one universal European or American “M.”
| Record | Describes | Do not substitute it for |
|---|---|---|
| Body-size profile | Target wearer dimensions and proportions. | Finished garment measurements. |
| Garment size specification | Targets at defined points of measure, for each size. | Every movement needed on the pattern. |
| Pattern grade rules | Size-specific changes to pattern geometry. | A physical fit review. |
| Manufacturing tolerance | Allowed deviation from a stated target. | The intended increase between sizes. |
Ease is the relationship between body and garment dimensions that contributes to the intended fit. A body chest circumference and a flat garment half-chest width use different measurement paths. Do not subtract one directly from the other. Establish comparable measurements and consider the actual construction and stretch behavior.
A customer-facing size chart is another presentation decision: label it clearly as body measurements or garment measurements. Do not publish an internal pattern rule table as shopping guidance.
03 / Define each point before changing its value
Start with consistent points of measure
A point of measure, or POM, needs a name, landmarks, measurement path and garment condition. Lectra’s YuniquePLM measurement guide keeps sample values, grading increments and “how to measure” instructions connected.[3] Follow that principle even when you work in a simple spreadsheet.

| POM | Written method | Confirm before grading |
|---|---|---|
| A · Half chest | Measure flat between side edges at an agreed distance below the underarm. | Specify that distance; keep the garment relaxed. |
| B · Body length | From the high shoulder point at the shoulder/neck joining seam vertically to the hem. | Identify the joining seam, not the rib’s outer edge. |
| C · Across shoulder | Straight across the back between shoulder/armhole seam intersections. | Use a different defined method if the construction changes. |
| D · Sleeve length | From shoulder/armhole junction to sleeve edge along the specified upper-sleeve path. | State whether a cuff is included on other styles. |
This shortlist is not a complete tech pack. Add neck opening, armhole, bicep, sleeve opening, hem and other style-specific points. A raglan sleeve cannot inherit the illustrated shoulder and sleeve definitions without adjustment.
04 / Compare the increments
A grade table should explain how each measurement changes
The table below is a fictional adult T-shirt example for reading increments. M is the reference size. It demonstrates different changes by POM; it does not prescribe a market size system, a recommended fit or approved production targets.
| POM | S | M · reference | L | XL | Each adjacent step |
|---|---|---|---|---|---|
| A · Half chest | 54 | 56 | 58 | 60 | +2.0 |
| B · Body length | 69 | 70 | 71 | 72 | +1.0 |
| C · Across shoulder | 49 | 50 | 51 | 52 | +1.0 |
| D · Sleeve length | 21.5 | 22 | 22.5 | 23 | +0.5 |
Same example · one size step
Four points. Four specified changes.
Bars share a zero baseline and show the table’s garment-measurement increments, not pattern-point movement. Fictional values, not industry benchmarks.
For this example, L half chest is 56 + 2 = 58 cm, while XL is 56 + 2 + 2 = 60 cm. A base-relative offset of +4 cm and an adjacent-size increment of +2 cm describe different relationships. Label which convention your table uses.
A +2 cm half-chest change corresponds to approximately +4 cm around a simple flat garment body. It does not mean moving every pattern edge outward by 2 cm. The patternmaker must distribute changes across the relevant pieces and preserve their sewing relationships.
Equal steps within each row make this example easy to inspect. A real range may need different increments at particular size transitions. Record those transitions explicitly rather than allowing a spreadsheet to extend one formula beyond the approved range.
05 / Preserve the silhouette
Grade oversized T-shirts and hoodies as complete shapes
Oversized does not mean every dimension should increase at the same rate. Define what the collection should retain: a boxy body, a particular shoulder drop, sleeve volume, body length and hem position. Check those relationships on the intended wearers or appropriate forms across the size range.
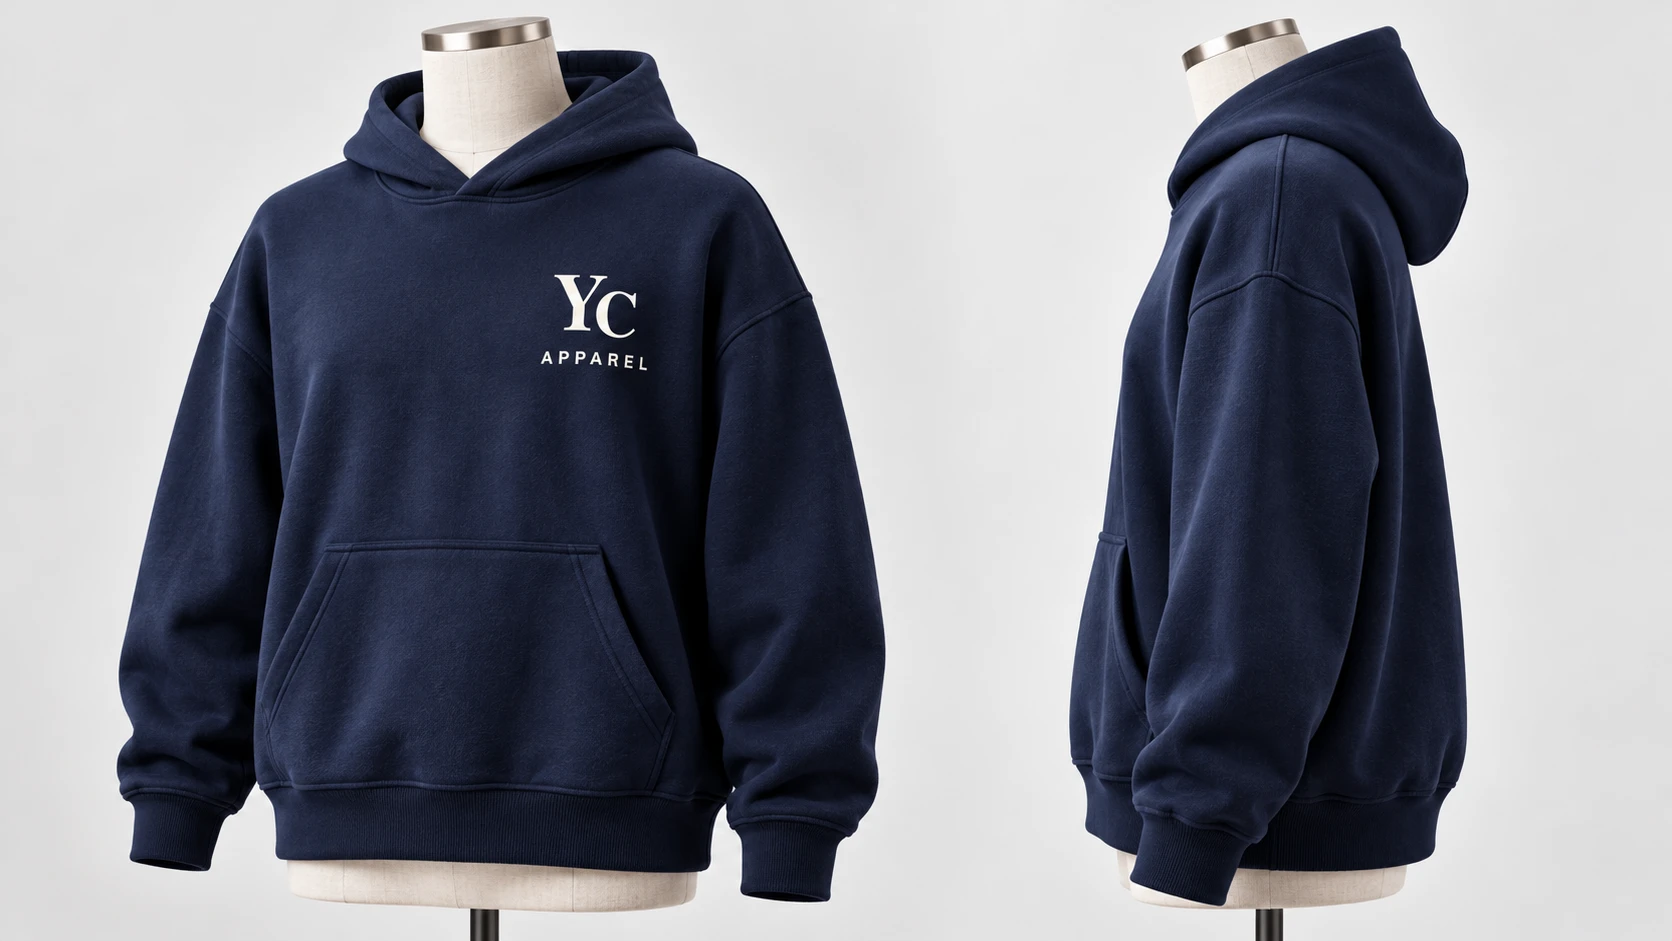
- Shoulder and sleeve: a wider dropped shoulder changes where the sleeve begins. Review total sleeve reach as well as the sleeve POM.
- Armhole and bicep: check movement and the relationship between sleeve and body; a matching chest number does not approve these areas.
- Hood and neckline: review entry, coverage, balance and the neckline connection.
- Pocket, rib and artwork: decide what changes by size and what stays constant. Check access, placement and clearances.
A chest logo may keep one artwork size while its position changes. A pocket may need its own size-specific decision. Make these choices visible instead of assuming that grading the body settles every attached detail.
For custom T-shirts and custom hoodies and sweatshirts, review the range in the intended material and finished condition. Record any substitute fabric so its limitations are clear.
06 / Check more than the middle size
Use the size set to test the grading decisions
A size set is a group of samples used to review the proposed size range. Agree which sizes and how many specimens are needed before sampling. As a practical starting point, include the base and range ends; add sizes around any changed grade rule or other fit concern. This is a review recommendation, not a universal sampling standard.
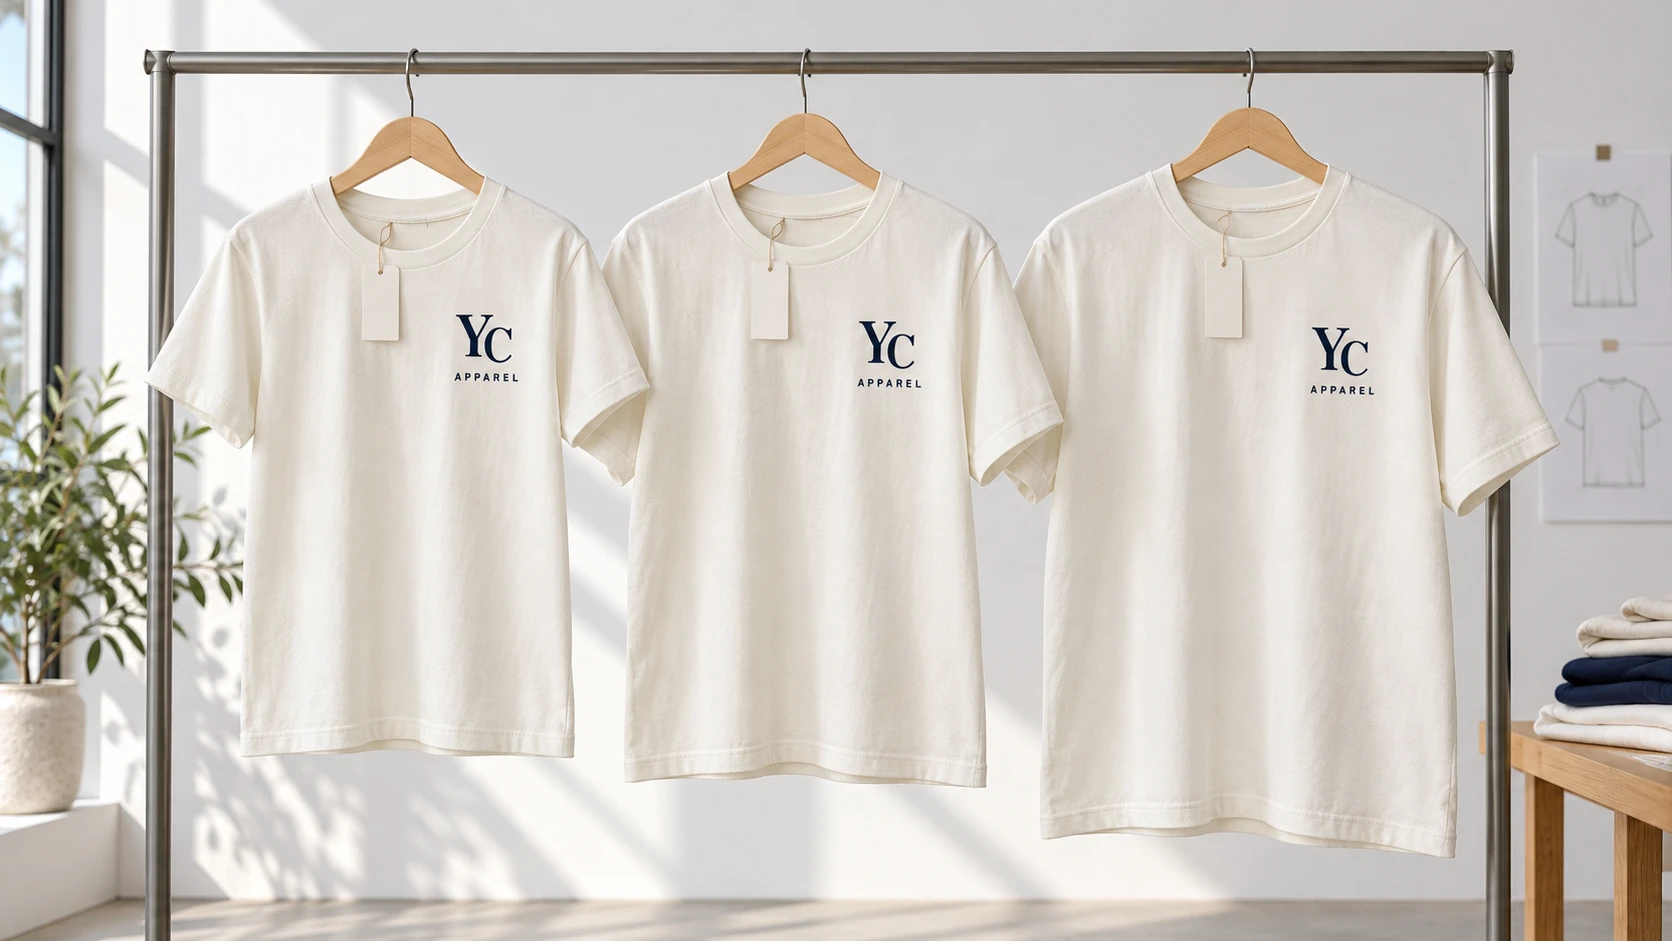
- Confirm identity: size, sample ID, pattern revision, material and finish.
- Measure: record actual values against that size’s targets and agreed tolerances.
- Assess fit and movement: compare front, side and back views on the agreed wearer or form.
- Inspect connections: ask the patternmaker to check mating seams, notches and component relationships across sizes.
- Record the decision: identify changes, affected sizes and the evidence needed for another review.
Keep an actual sample deviation separate from a requested design change. “L measures short against the target” and “L needs a longer design target” require different actions. Connect this review to your clothing sampling plan.
07 / Control units and revisions
Keep one master measurement table
NIST lists the inch-to-centimeter conversion factor as 2.54.[5] Convert cm to inches by dividing by 2.54. For example, 56 cm is approximately 22.05 in when displayed to two decimal places; converting that rounded display back does not recreate the exact original value.
Choose a master unit, retain its original precision and state the display-rounding rule. Do not maintain independently edited centimeter and inch specifications. Unit conversion changes the representation of a dimension; it does not convert a brand’s M into another market’s M.
Lock the style ID, size labels, base size, POM definitions, targets, tolerances, material condition and pattern revision together. Lectra’s AccuMark documentation distinguishes changing which size is the base from changing the base dimensions, which updates other sizes.[4] Ask exactly what changed when a revised file arrives, then identify the affected samples.
08 / Make the range reviewable
Use the size-range review worksheet
The blank worksheet holds four size columns and four POM rows, calculates adjacent-size differences and displays a converted-unit reference. Separate review notes capture sample IDs, fit concerns and next actions. Use additional copies for larger ranges or more POMs, keeping the shared revision.
Size targets, increments and review notes
Enter your own approved or proposed targets. No grade rules or tolerances are pre-approved. Export the record or print it for the sample review.
Open the editable worksheet ↗Download the blank text version ↓
This tool checks arithmetic and records decisions; it does not generate production patterns or approve fit. Entries are not submitted or automatically saved.
Share your size range and fit requirements with the base-sample reference, measurement methods and intended material. Confirm the grading and size-set review scope for your project.
09 / Common questions
Pattern grading questions
Can I grade by scaling the whole pattern?
Uniform scaling changes every dimension by the same percentage. A graded garment range needs deliberate changes by point and size, with seam compatibility and fit checked afterward.
Must every size use the same increment?
No. Define the required change for each POM and each size transition. Any change in the rule should be visible in the specification and included in the review plan.
Is a good M sample enough to approve S through XL?
It supports the base-fit decision. It does not establish that the other sizes preserve the intended proportions. Review the agreed size set before releasing the range.
10 / Evidence & reading
Sources and scope
Primary sources checked on 17 October 2026. Software documentation supports the grading concepts, not a claim that Yuchen uses that software. Sample dimensions and review recommendations are editorial examples.
- CLO — Edit Grading PropertiesPattern-point and outline grading; base-relative distances versus adjacent-size offsets and X/Y axes.
- ISO 8559-1:2017 — Body Measurement DefinitionsPublic scope for anthropometric definitions and population size/shape profiles; no full paid-standard procedure reproduced.
- Lectra — YuniquePLM Measurements GuideSample-size values, increments, POM methods, units and tolerances in the documented workflow.
- Lectra — AccuMark Base SizeDifference between changing the base-size designation and changing base dimensions.
- NIST — SI Conversion Factors, Appendix B.9Length conversion factor: 1 inch equals 2.54 centimeters.