
01
Identify what failed, not only where the gap appeared
A complaint may arrive as “the seam is splitting,” accompanied by one close-up. Before choosing stronger thread or extra stitches, determine what has actually changed. The cloth yarns may have displaced beside the stitching, the sewing thread may have broken, or the fabric itself may have ruptured. More than one mechanism can occur in the same sample.
| Observation | What to look for | First evidence to preserve |
|---|---|---|
| Yarn slippage | Woven yarns displaced near the seam; sewing thread may remain intact | Both sides of the seam, yarn movement and material direction |
| Stitch failure | Broken or unravelling sewing thread, possibly with intact cloth | Thread ends, stitch formation and inside seam |
| Fabric rupture | Broken cloth yarns or a ragged tear beside or through the seam | Fracture location, needle line and surrounding fabric |
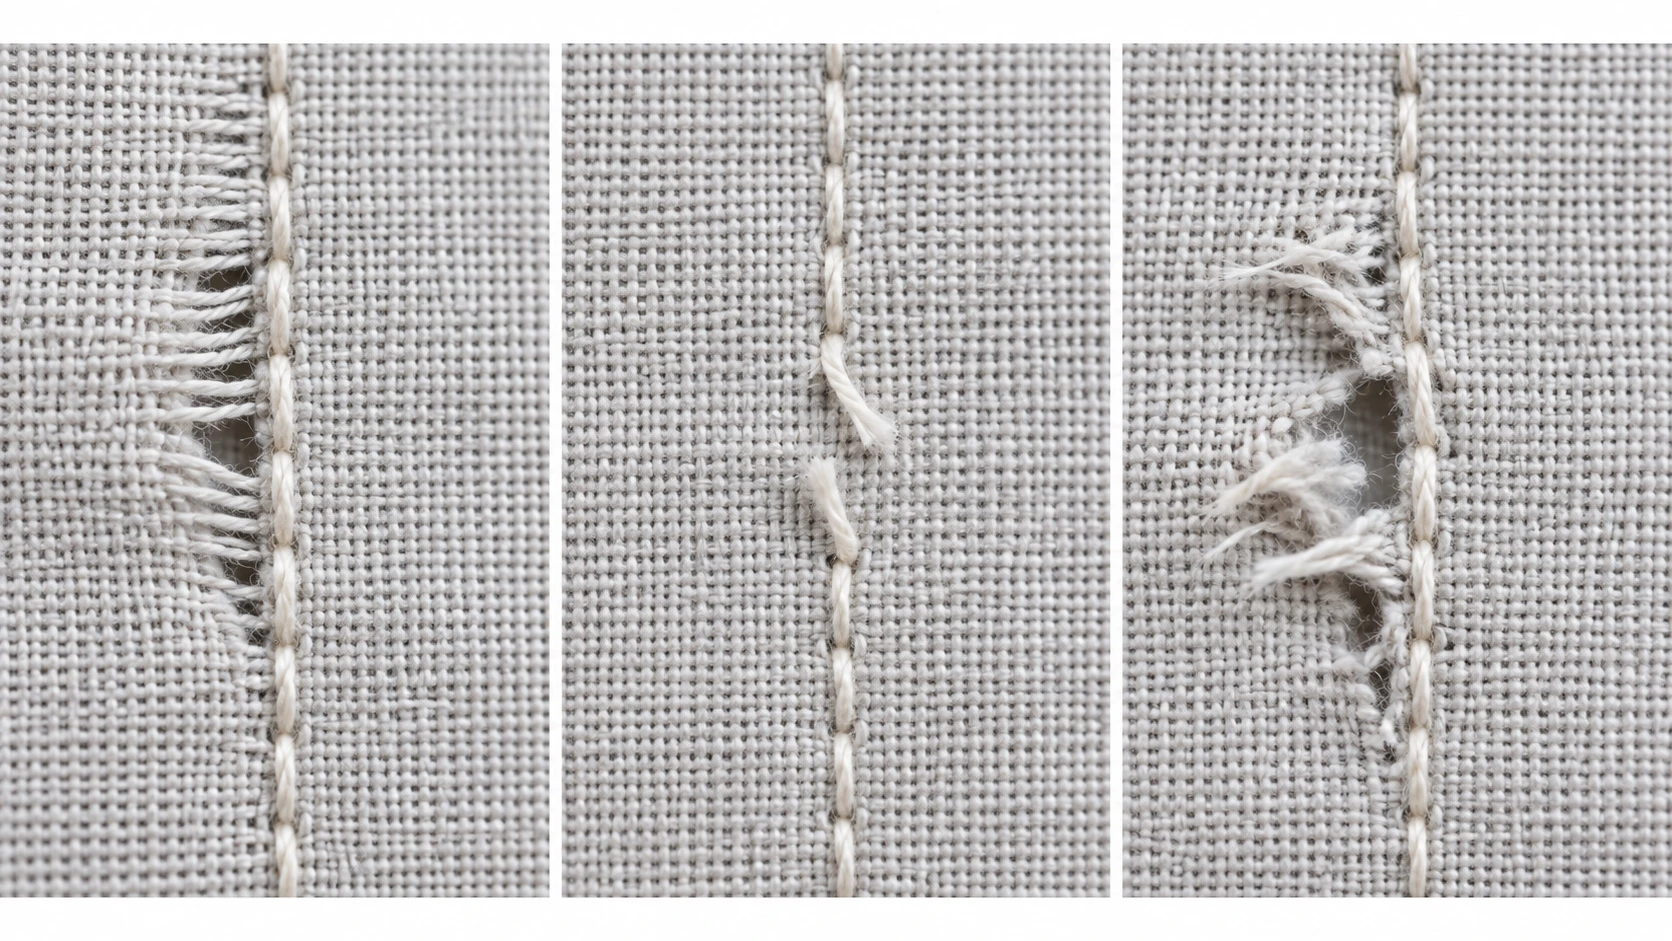
Inspect the garment relaxed as well as in the condition in which the opening was noticed. Preserve the original failure before repeated pulling changes it. A photo can guide the next question, but it cannot establish a load value, acceptance result or complete cause on its own.
This guide concerns woven apparel such as overshirts, woven trousers and jackets. Do not transfer its conclusions directly to a knitted T-shirt seam that stretches, grins or loses stitches. Confirm the fabric construction first.
02
Map the failure to the garment and the use condition
Record the style, sample ID, size, material lot, seam location and garment revision. Note whether the issue appeared during fitting, movement, laundering, a controlled test or a customer’s use. Where the history is uncertain, record that uncertainty instead of filling it with an assumption.
A side seam, seat seam, armhole and pocket attachment experience different forces in use. Fit and movement may concentrate stress at a location even when the seam looks acceptable on the table. Check the size and fit context alongside the seam construction; a material substitution alone may not address the loading created by the garment design.
| Question | Record it specifically |
|---|---|
| Which fabric? | Composition, weave, mass, finish, source and lot |
| Which direction? | Warp/weft identification and seam orientation |
| Which assembly? | Seam type, stitch type, thread, density and allowance |
| Which condition? | Unwashed or processed, dry or other documented state |
| Which event? | Observed use or named test; do not invent force from a hand pull |
If the problem occurs only in one size or batch, compare it with unaffected examples. Keep those differences visible: a changed seam allowance, material finish or fit may be relevant. The aim is a traceable comparison, not a quick declaration that the fabric mill or sewing operator must be at fault.
03
Review the fabric and seam as a combined system
Start with the material’s yarn mobility and construction, then inspect the actual sewn assembly. Confirm that the material supplied matches the nominated reference. A visually similar replacement is not proof of equivalent seam performance.
Next check the seam allowance and whether it matches the specification throughout the affected area. Examine stitch formation, stitch density, thread, needle suitability, seam type and any reinforcement. ASTM D1683 describes seam engineering through thread, stitch type, seam type and stitch density.[3] These variables need to be evaluated together with the fabric.
Investigation order
- Confirm identityMaterial, lot, direction, fit and sample history
- Inspect the assemblyAllowance, stitches, thread and local damage
- Form a hypothesisWhich change should address the observed mechanism?
- Compare and retestControlled variants, same evidence and agreed requirement
Do not assume that more stitches or stronger thread will always improve the outcome. A change can move failure from the thread into the cloth, increase bulk or create another problem. Coats’ seam guidance emphasizes balancing strength with appearance, stretch, bulk and softness.[4] The best construction is the one that meets the intended use and appearance requirements after verification.
For a suspected yarn-slippage problem, ask the technical team whether a different fabric construction, seam assembly, allowance or suitable reinforcement should be trialed. These are investigation options, not universal fixes. Confirm the effect on fit, handle, washing and production feasibility before approval.
04
Ask for the right test question
“Please test seam strength” may not answer “how much does the seam open under this load?” State the property and decision you need before selecting a method. Have the laboratory confirm suitability for the fabric and garment use, including whether the fabric is stretch woven.
| Method | Question / scope | Important boundary |
|---|---|---|
| ISO 13936-1:2004 | Resistance to yarn slippage using a fixed seam-opening approach | Its public scope excludes stretch fabrics. |
| ISO 13936-2:2004 | Yarn slippage using a fixed-load approach | Public scope includes stretch woven fabrics; confirm the exact procedure. |
| ASTM D1683/D1683M-22 | Failure and strength of sewn seams in woven fabric | A maximum force or failure result is not automatically a seam-opening result. |
The scope difference between ISO 13936-1 and ISO 13936-2 matters: do not choose a part number only because both contain “seam slippage.”[1][2] Both ISO pages were checked as published, with confirmation recorded in 2023. Use the edition agreed for the project and the full method through the testing provider.
ASTM D1683 applies force perpendicular to a woven seam and addresses seam failure and strength.[3] A report should identify the direction and assembly tested, not simply show a single “pass” word. Results from different methods, loads or specimen preparations should not be ranked as if they were the same measurement.
This article uses public method descriptions. It does not reproduce specimen dimensions, equipment settings or a complete test procedure. No universal opening limit or minimum force is proposed; those requirements need to suit the product and be agreed before results are judged.
05
Send a laboratory brief that preserves the context
Ask the laboratory what sample quantity and dimensions it needs before cutting material or removing garment sections. Preserve enough intact fabric, failed areas and unaffected references for the agreed investigation. Identify specimens so the lab can relate each one to the garment and material lot.
| Include | Why it matters |
|---|---|
| Material and garment identity | Links results to the relevant style and lot |
| Warp/weft and seam orientation | Prevents an unlabeled directional result |
| Existing seam or lab-sewn assembly | Clarifies what construction is actually tested |
| Method, edition and requested result | Distinguishes force, opening and failure mode |
| Conditioning and processing history | Makes comparisons interpretable |
| Acceptance rule and reporting needs | Avoids selecting the threshold after seeing results |
Request the individual results and observed failure modes required by the method, with photographs where useful. If a seam slips before the thread breaks, that sequence may matter to the product even when a final force number looks high. Ask the lab to explain any deviation from the requested procedure.
Do not label a hand pull or an improvised bench check as an ISO test. Such observations can help identify a concern, but a formal report requires the specified equipment, preparation and procedure. Keep informal screening and standardized evidence in separate fields.
06
Change one factor deliberately and retain a control
An uncontrolled revision can make the next sample look better without explaining why. If the fabric, seam allowance, thread and fit all change at once, record it as a combined redesign. Do not claim that the new thread alone solved slippage.
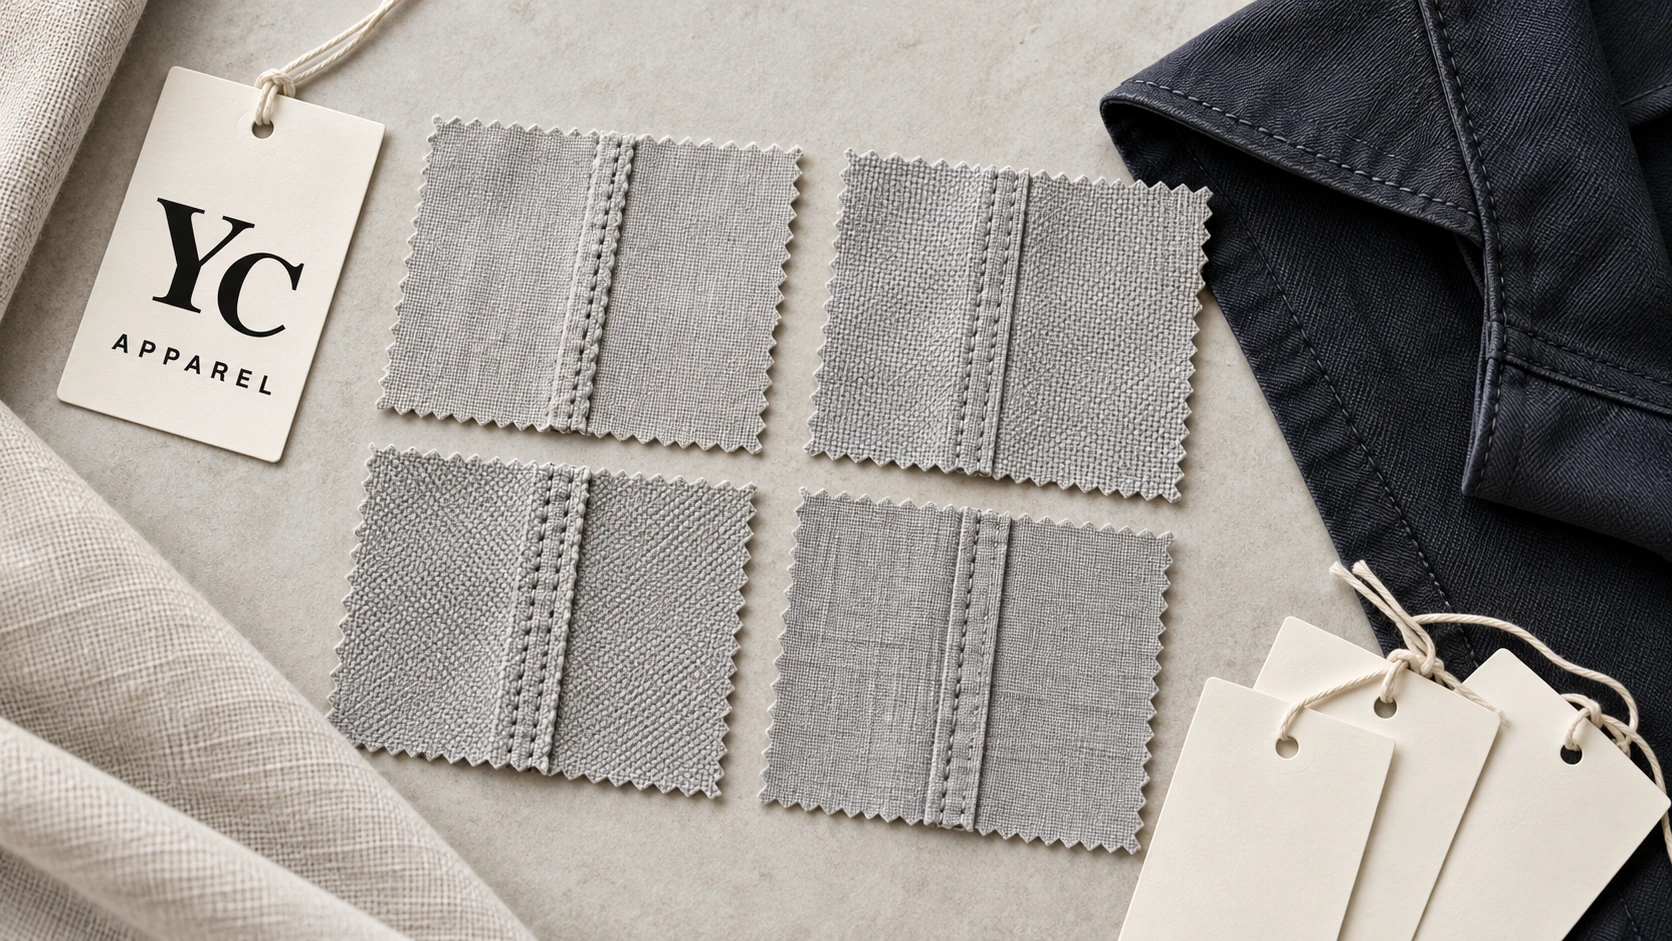
For a focused investigation, agree a manageable set of controlled variants. Keep a reference assembly and alter the factor under review while holding the other documented conditions steady where feasible. Use the same relevant testing and garment-review conditions so the comparison answers the intended question.
| Variant | Deliberate change | Evidence needed |
|---|---|---|
| Reference R | Current fabric and seam assembly | Baseline result and failure mode |
| Trial A | Revised seam construction only | Same relevant method plus appearance review |
| Trial B | Alternative fabric, defined assembly | Material verification and repeat assessment |
A successful laboratory result is part of the decision. Recheck the actual garment’s fit, local bulk, appearance and intended care after the change. A reinforcement that solves one seam problem can create stiffness or a visible edge that the design team has not approved.
Then update the controlled specification: material reference, seam construction, allowance, thread, relevant settings, test requirement and approved sample. Identify which existing stock or production work is affected. Keep the original failure and corrected reference linked to the same issue record.
07
Turn the finding into a closed production instruction
A useful conclusion states what failed, what changed, which evidence supports the change and what remains unverified. “Use stronger thread” is incomplete when the observed issue was cloth-yarn movement. “Trial A meets the agreed requirement under the named method, with garment appearance approved” is a much more precise type of decision—provided the evidence exists.
If evidence is incomplete, keep the affected decision open. The worksheet helps organize information for a fabric supplier, sewing technician and laboratory; it cannot diagnose a real sample automatically. This guide contains no documented Yuchen failure case or claim about a particular production lot.
Review the wider quality workflow and submit the seam location, close-ups and material information for a project-specific discussion. Technical review of the actual woven material is necessary before adopting a construction change.
08
Create a seam-failure evidence record
Use the editable record for one issue and one clearly identified sample group. It captures the failure observation, fabric and seam details, proposed test, controlled trial and final decision. Duplicate the record for a different lot or materially different construction.
The blank form is a discussion brief. The laboratory must confirm specimen preparation and method suitability; a completed form is not a technical sign-off or test certificate.
Woven seam-failure investigation
Fill in the record, export it to continue later, or print your completed brief. No account is required.
Open the editable worksheet ↗Download blank text brief09
Seam-failure questions
Will stronger thread prevent seam slippage?
Not necessarily. Slippage concerns woven cloth yarns moving at a seam. Evaluate the material and assembly before selecting a correction.
Can I apply the same method to a stretch woven fabric?
Check the specific method. ISO 13936-1 and ISO 13936-2 have different public scope statements regarding stretch fabrics.
Is an opening in a knit T-shirt the same issue?
Do not assume so. Knitted seam extension, stitch failure and fabric damage need an investigation appropriate to the knit construction.
Sources & further reading
Sources checked 17 October 2026. Public standards scopes explain applicability; use the agreed full procedure through a qualified testing provider where relevant.
- ISO 13936-1:2004 — Fixed Seam Opening MethodPublic scope for yarn slippage at a seam in woven fabrics; excludes stretch fabrics and certain industrial fabrics.
- ISO 13936-2:2004 — Fixed Load MethodPublic scope includes apparel and upholstery woven fabrics, including stretch fabrics. Method suitability must be confirmed.
- ASTM D1683/D1683M-22 — Failure in Sewn Seams of Woven FabricsSeam strength, failure and seam-engineering variables; not interchangeable with a fixed-load opening result.
- Coats — Soft and Secure SeamsSeam design balances strength, appearance, stretch, bulk and comfort. Supplier guidance does not certify an actual garment.