
01
Start with one inspection-ready reference set
A useful inspection begins before anyone opens a carton. The buyer, supplier and inspector need the same purchase order, technical pack revision, approved sample reference and packing instructions. If a later email changes the neck label but the inspection sheet still shows the old label, a careful inspector can reach the wrong decision.
Create a cover page with style ID, color, ordered sizes, lot or production batch, inspection stage, document revision and the person authorized to resolve questions. Identify the actual approved sample, including its date and any exceptions. A development sample with a substitute zipper should not silently become the final zipper standard.
QIMA describes a garment checklist as a combination of product requirements, packaging requirements and on-site checks. Its guidance is a useful starting structure; the acceptance details still need to come from your own specification.[1]
Four questions before the first check
- ReferenceWhich requirement and revision apply?
- EvidenceWhich units and observations were recorded?
- DecisionWhat does the agreed rule require?
- ClosureWho verifies correction and releases the lot?
Separate missing information from a confirmed failure. “Tolerance not provided” means the measurement cannot yet be judged against an agreed limit. It does not mean the garment passed. Put that item on hold and request the missing decision instead of inventing a tolerance at the table.
02
Verify the lot, colors, sizes and packing
First establish what is available for inspection. Record the total declared quantity, quantity completed, quantity packed and any units excluded from access. State which cartons and garments were selected. Do not describe a check of a few open cartons as a complete inventory count unless that is what was actually done.
| Check | Compare against | Record |
|---|---|---|
| Style and color | Purchase order and approved material/color references | Style code, color code, lot identity |
| Sizes and quantities | Agreed size breakdown | Declared quantities and verified scope |
| Cartons and assortment | Packing list and carton markings | Carton IDs and contents checked |
| Labels and packaging | Approved artwork and packing instructions | Version, placement, readability and mismatch |
Inspect the garment label, bag label and carton marking as a connected chain. A correctly sewn M label inside a bag marked L is still an assortment problem. Where barcodes are required, use the agreed scanning check and expected result; a barcode that merely looks neat has not been verified.
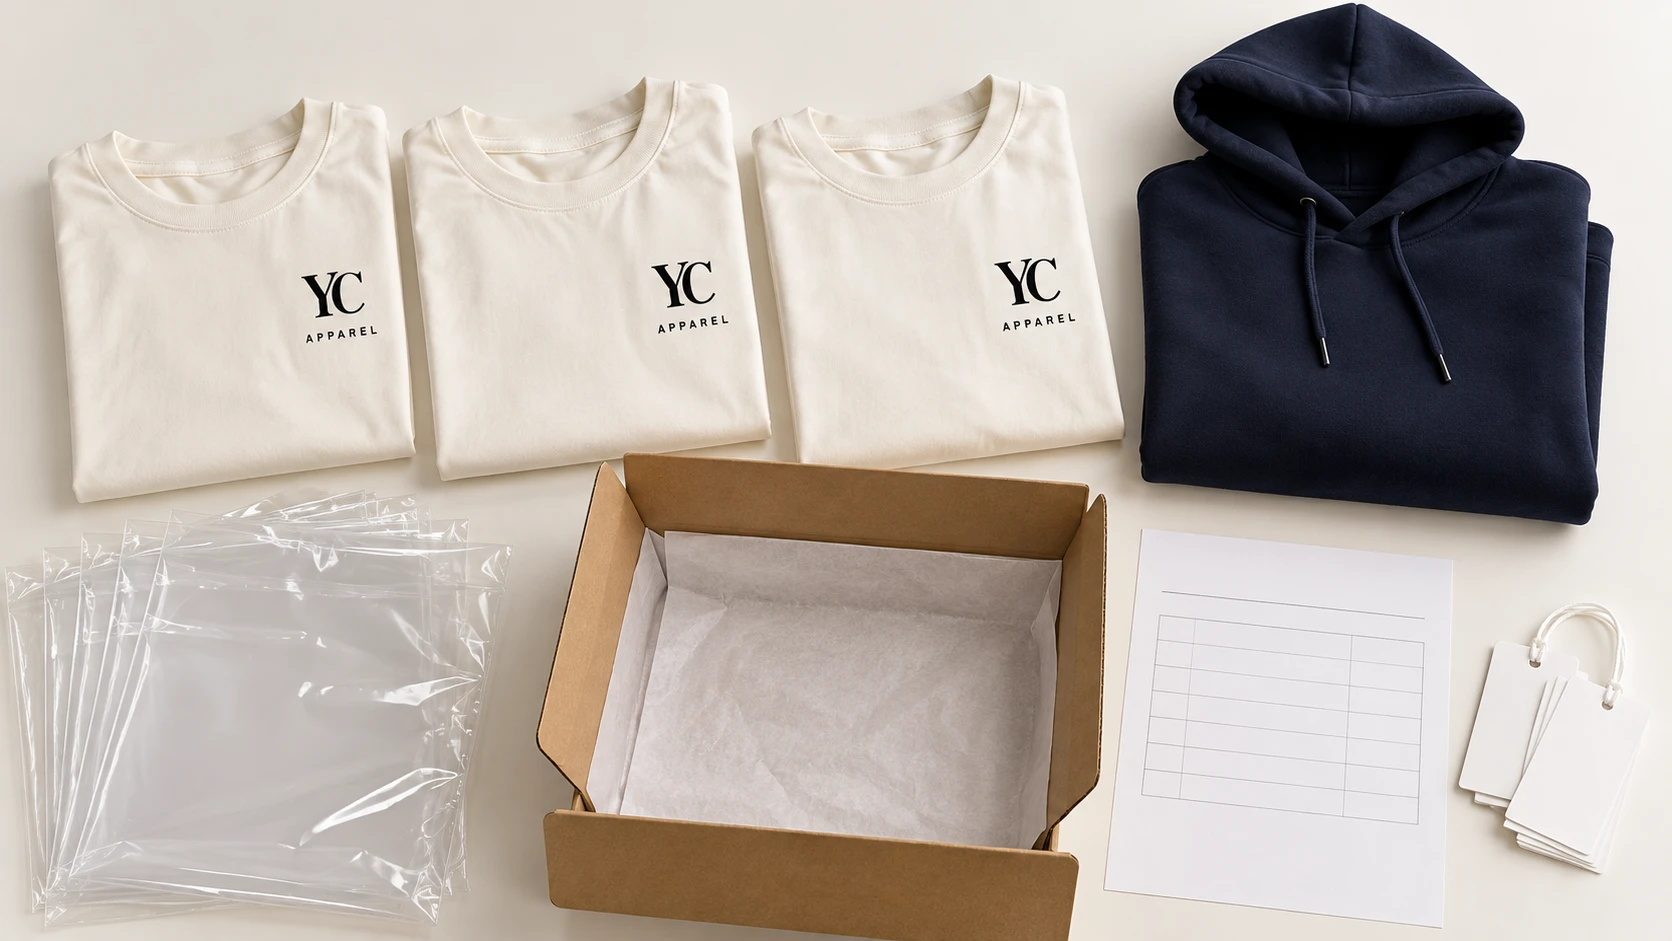
Keep legal labeling review distinct from a visual comparison with artwork. An inspector can check whether the approved label is present, but the brand still needs an appropriate review of the destination-market requirements. Do not infer fiber composition or compliance from a printed label alone.
03
Measure against the approved size specification
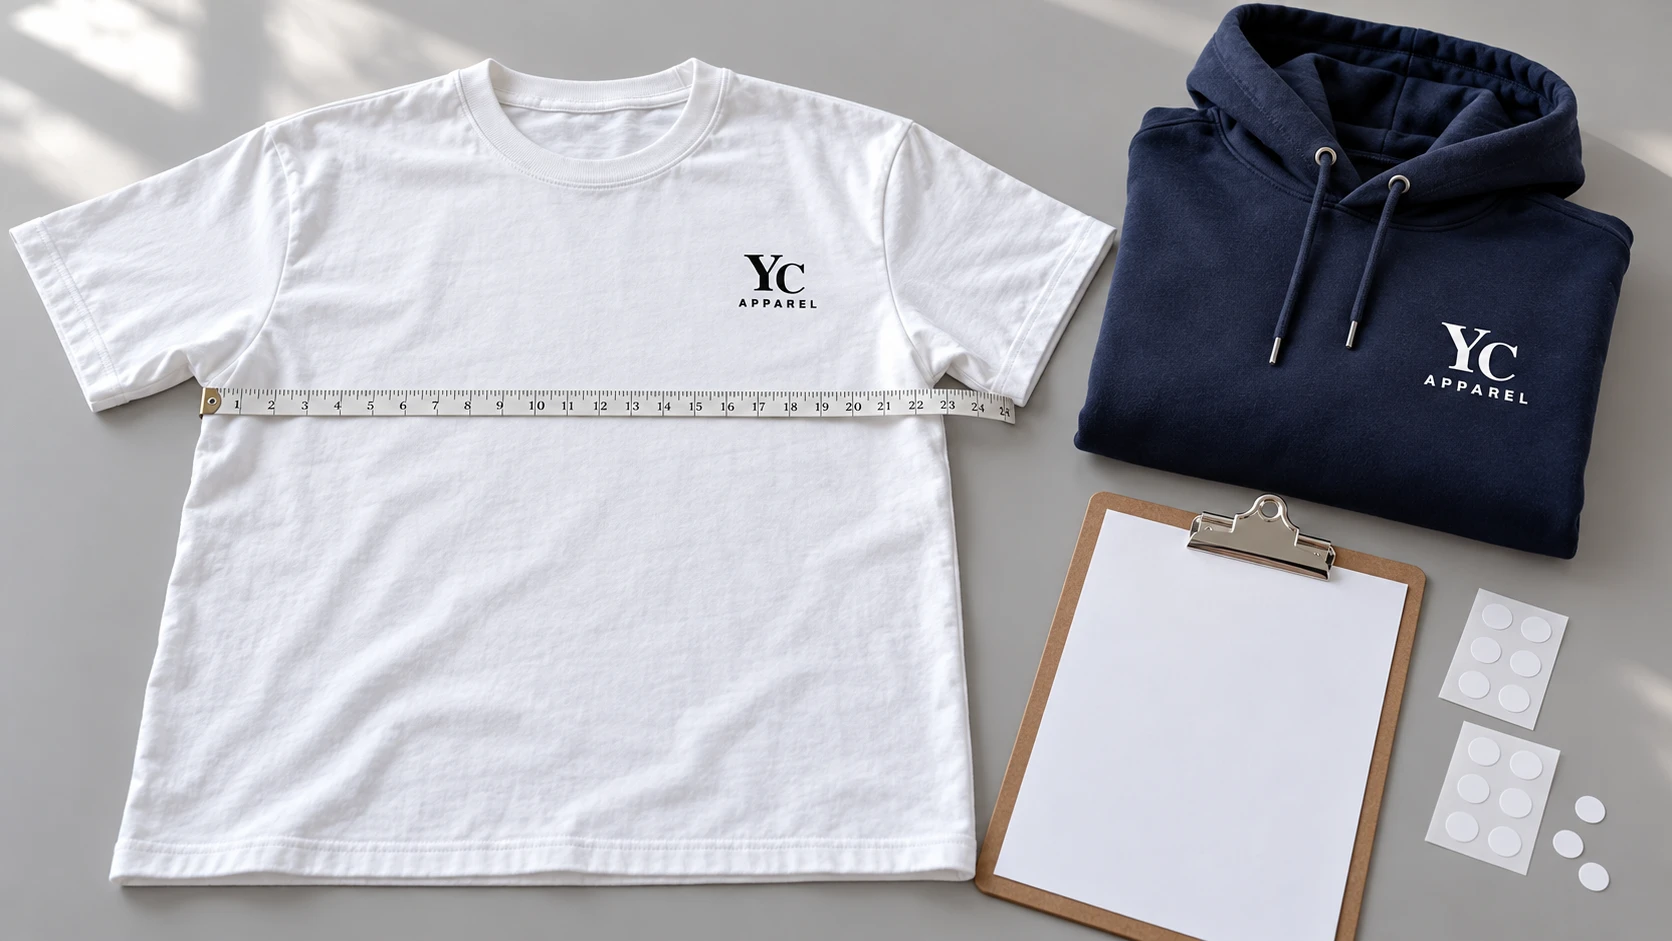
For every selected measurement, specify the point of measure, method, target, unit, garment condition and tolerance. A flat chest width measured at the underarm is not interchangeable with one measured a defined distance below it. Relax the garment and use the agreed preparation and measurement technique consistently.
QIMA’s inspection guidance calls for size-specific measurements and tolerances at each measurement point. It also notes that matching dimensions does not by itself establish correct fit.[2]
| POM / sample | Target | Tolerance | Actual | Observed difference |
|---|---|---|---|---|
| Half chest / M-01 | 56.0 | ±1.0 | 55.2 | −0.8; within this example limit |
| Body length / M-01 | 70.0 | ±1.0 | 68.7 | −1.3; outside this example limit |
Teaching values only. These targets, tolerances and results are not Yuchen measurements or recommended limits. A measurement result is not an overall shipment decision.
Record the actual number even when it is within tolerance. A page full of ticks loses the information needed to spot a directional shift. If several checked units are consistently short, review that pattern with the supplier rather than assuming that each individual tick settles the process question.
Use the size specification for that garment, not the base-size number for every piece. When the shape looks wrong despite matching selected dimensions, examine the full fit and construction: shoulder balance, sleeve reach, neckline, hood and body proportions may need a separate review.
04
Inspect construction and decoration as separate systems
Work through the garment in a repeatable order: front, back, inside, seams, openings and attached components. This makes comparisons easier and reduces the chance that an attractive print distracts from an unfinished inside seam. Record the precise location of each observation.
| Area | What to examine | Useful evidence |
|---|---|---|
| Body and seams | Open or skipped stitches, holes, contamination, panel shading, seam appearance | Inside and outside close-ups with location |
| Neck, cuffs and hem | Attachment, symmetry, waviness and agreed dimensions | Relaxed overall view plus detail |
| Hood and closures | Shape, alignment, zipper operation and attachment | Sequence of views and functional result |
| Print or embroidery | Artwork revision, placement, dimensions, registration and visible damage | Approved artwork reference and measured position |
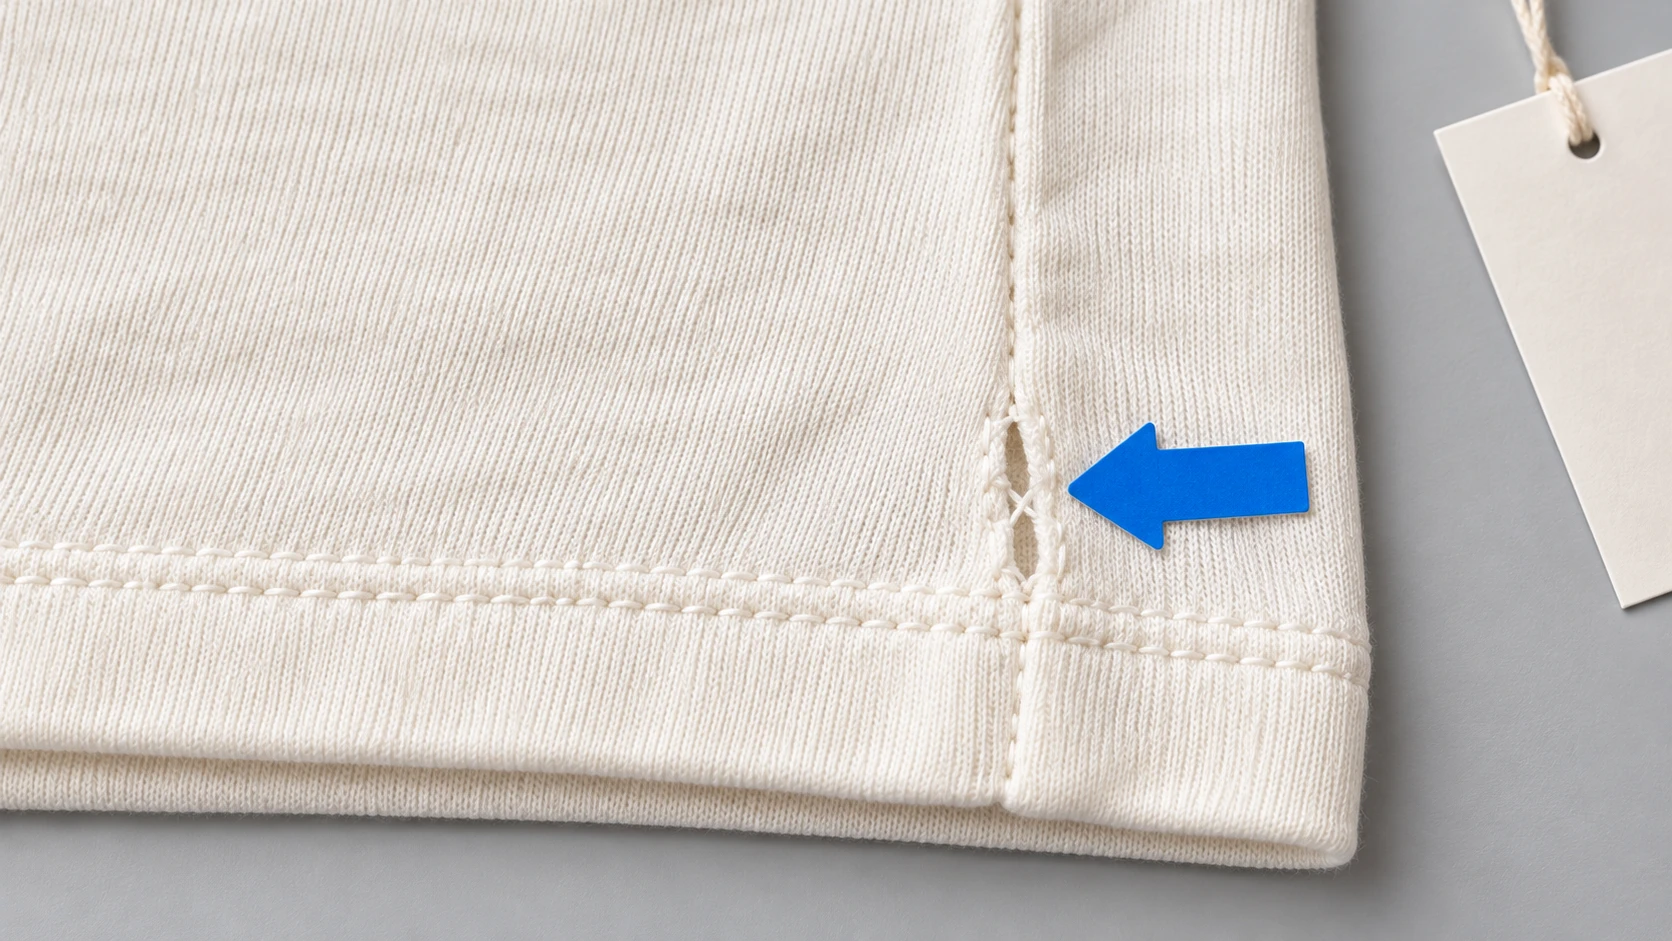
Avoid automatic severity labels based only on a photo. An open seam, stain or misplaced logo can have different consequences depending on location, size, use and the agreed defect catalogue. Define critical, major and minor categories before inspection, including the escalation route for a potential safety concern. Never treat a sampling threshold as permission to ignore a safety issue.
For decoration, compare the finished result with the approved artwork and placement specification. A visual surface check cannot establish durability through future washing. If adhesion, colorfastness or abrasion performance matters, identify the agreed test and evidence separately.
05
Count affected units separately from defect observations
Give each checked garment a temporary unit ID. Give each defect a record ID linked to that unit, carton, color, size, location, photo and requirement. Include a short factual description before suggesting a cause. “Three disconnected stitches at left underarm” is easier to investigate than “bad sewing.”
| Record | Unit ID | Observation |
|---|---|---|
| D-01 | U-03 | Open seam at left underarm |
| D-02 | U-03 | Print outside agreed placement |
| D-03 | U-08 | Incorrect bag size label |
This example contains three defect observations on two affected garments. Whether the sampling plan counts nonconforming units or nonconformities changes how results are assessed. Keep both raw records; do not automatically add every observation as another defective garment.
Photograph an overall view to establish location, then a close-up showing the issue and any relevant scale. Preserve original files, use stable filenames and link them from the log. A cropped close-up with no unit identity can be compelling but difficult to trace back to the lot.
06
Agree the sampling scheme before interpreting results
ISO 2859-1:2026 is the current published edition checked for this guide. Its public description covers acceptance sampling schemes indexed by AQL for lot-by-lot inspection. Confirm the contract’s standard and edition rather than silently replacing an already agreed inspection plan.[3]
A usable instruction identifies the lot, inspection level, sampling scheme, normal or other applicable inspection status, defect categories, AQL values, sample size and acceptance/rejection rules. The qualified inspection provider should select and apply the complete method, including relevant switching rules. This article does not reproduce the paid tables or supply a universal AQL.
AQL is not a guarantee that every accepted shipment contains less than a stated percentage of defects. Sampling involves decision risk.[5] Nor is a sample inspection the same as checking every piece. Record the plan actually used and any access or timing limitations so the conclusion is not broader than the evidence.
Keep the laboratory test plan beside the inspection plan. ASTM’s textile directory lists distinct methods for properties such as seam failure, pilling and fabric weight.[4] A visually clean garment does not answer all of those questions. Reports must identify the tested material or garment, condition, method and edition, result and agreed requirement.
07
Close the issue, then authorize the shipment
A useful report separates findings, required corrections and the release decision. If a lot is held, define the affected scope, responsible person and evidence required before reconsideration. Sorting, repair, replacement and acceptance by concession are different actions; record which was authorized and by whom.
After rework, verify the correction and inspect for new damage. A repaired seam may now be distorted; a replaced label may leave needle marks. Retain the first report and link the follow-up result rather than overwriting the original evidence. If the same problem appears in multiple areas, ask whether a wider check is needed.
A fictional closure note might read: “Hold cartons identified in the report. Supplier to identify and correct affected seams, retain unit records and submit the reinspection evidence required by the agreed plan. Buyer release remains pending.” This names the next action without pretending that a photo of one repaired garment releases the whole lot.
Use the factory and quality overview to frame project discussions, then agree inspection requirements for your order alongside the specification. Confirm actual responsibilities and testing scope; this guide does not claim a fixed Yuchen AQL or an inspection certification.
08
Use the inspection record before shipment
The editable worksheet includes reference control, assortment checks, measurement records, a defect log and a closure decision. Fill the acceptance rule before inspection. Blank or unreviewed items remain open; the form does not automatically release a lot.
Use one record per lot or clearly defined inspection scope. Add further copies where the color, size assortment or production revision requires separate tracking. Export the completed notes and attach the photographs and laboratory reports named in the record.
Garment inspection record
Fill in the record, export it to continue later, or print your completed brief. No account is required.
Open the editable worksheet ↗Download blank text brief09
Inspection questions
Does a passed inspection guarantee every garment is good?
No. The conclusion is limited by the agreed inspection scope and sampling method. Keep the report, limitations and release decision together.
Can I use one tolerance for every measurement?
Do not assume so. Agree each measurement’s method and allowed deviation according to its role in fit and construction.
Should I approve shipment from defect photos alone?
Photos support the record. The decision also needs the affected scope, agreed criteria, counts, corrective evidence and authorized reviewer.
Sources & further reading
Sources checked 17 October 2026. Public standards scopes explain applicability; use the agreed full procedure through a qualified testing provider where relevant.
- QIMA — Garment Quality Control ChecklistInspection-provider guidance on product, packaging, testing and checklist requirements; not a universal acceptance specification.
- QIMA — Garment Inspection ProceduresDefined measurement points and individual tolerances; measurements and fit are related but different checks.
- ISO 2859-1:2026Public description of AQL-indexed lot-by-lot acceptance sampling. Full sampling tables and rules are not reproduced.
- ASTM — Textile Standards directoryDifferent test methods address different textile properties; method selection is separate from a visual inspection.
- NIST — Lot Acceptance Sampling PlansAcceptance sampling has producer and consumer decision risks; acceptance is not a defect-free guarantee.